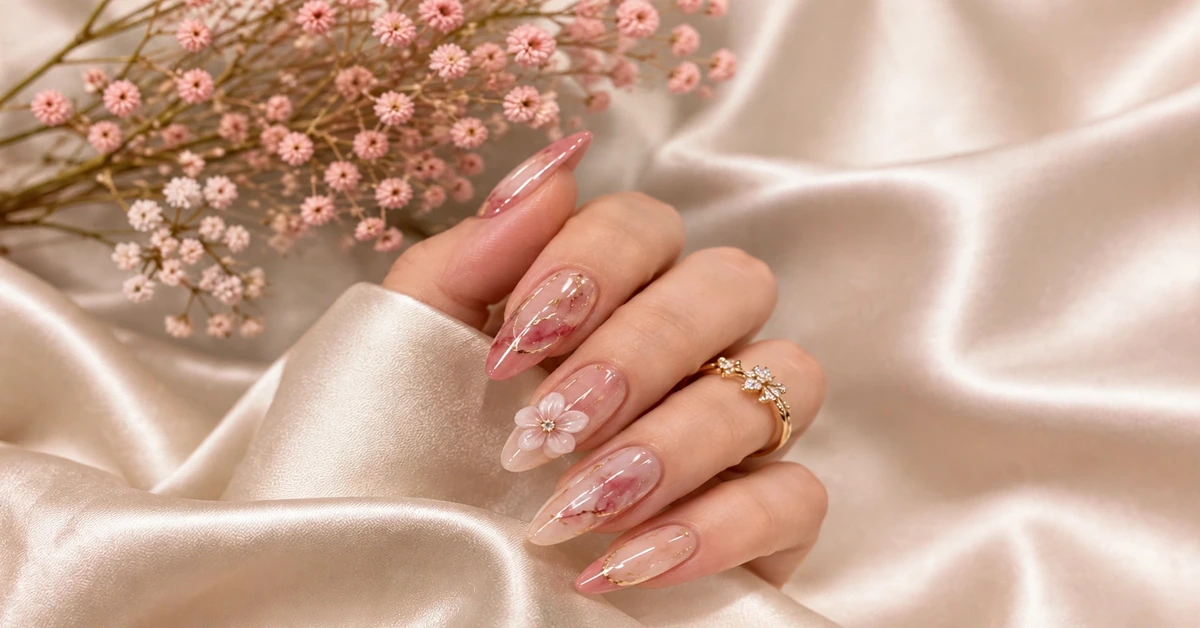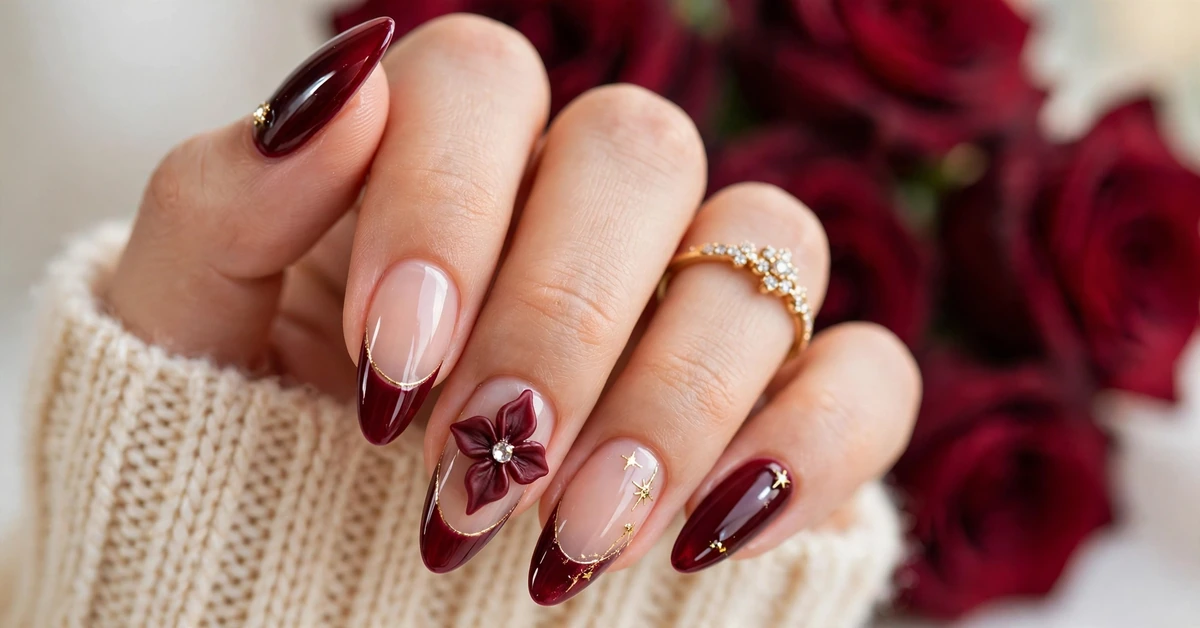
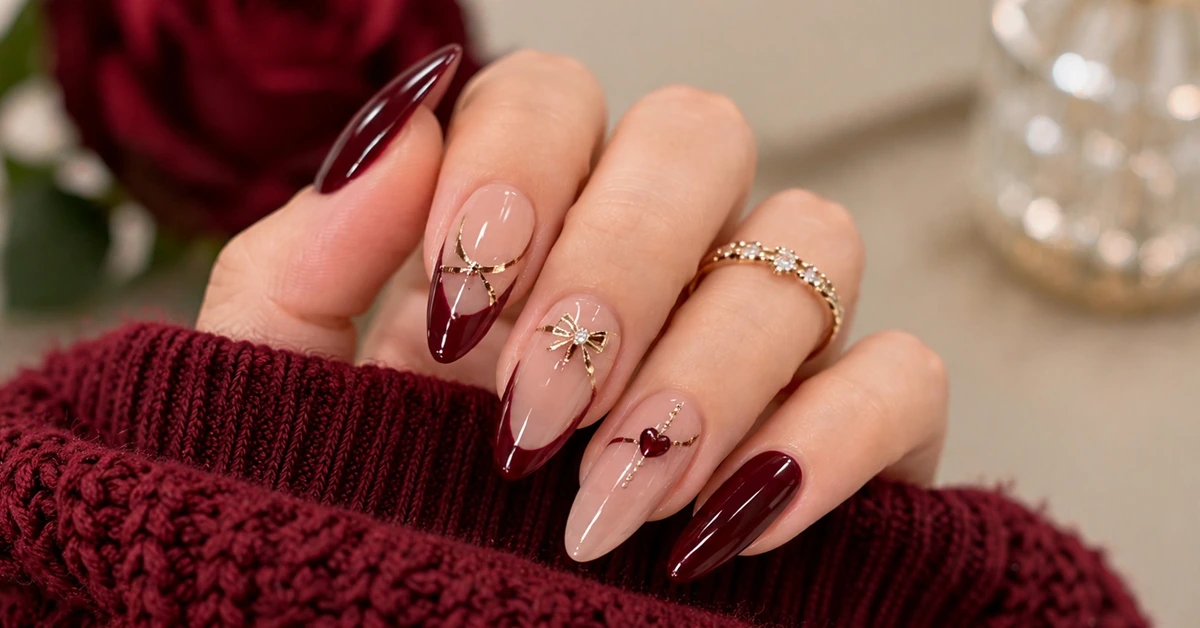
There is something quietly magnetic about a manicure that manages to be both romantic and grown-up at the same time, and burgundy wine red almond nails with gold bows and heart details do exactly that. The deep, wine-soaked red feels like velvet and candlelight, the almond shape keeps the whole look soft and elegant, and the tiny gold bows and a single red heart add a playful, almost jewellery-like finish. It is the kind of manicure that looks just as right holding a coffee cup on an ordinary Tuesday as it does at a winter dinner, a date night, or a festive family gathering.
This design has become a firm favourite because it balances drama with wearability. The burgundy is rich without being loud, the nude base keeps the nails looking natural and lengthened, and the gold detailing catches the light in a way that feels luxurious rather than flashy. Whether you book it at a salon or recreate a simpler version at home, this guide walks you through every part of the look: the shades, the shape, the charms, exactly what to ask your nail technician, and how to keep the manicure looking fresh for weeks.
Table of Contents
- Why This Design Works So Well
- Choosing Your Burgundy Wine Red Shade
- Almond Shape and Length: Getting It Right
- Gold Bows and Heart Details: The Finishing Touch
- What to Ask for at the Salon
- A Simpler DIY Version at Home
- Styling Ideas and Occasions
- Maintenance and Making It Last
Why This Design Works So Well
The secret of this manicure is contrast done gently. Deep burgundy against sheer nude creates depth without harshness, so the nails look sculpted rather than painted flat. The French-tip placement of the burgundy is especially clever: instead of covering the whole nail in a dark colour, which can sometimes make hands look heavy, the dark shade sits only on the tips while the nude base keeps the nail bed looking long and natural. The result is a manicure that flatters almost every skin tone and hand shape.
Almond nails are the other half of the magic. The tapered, softly pointed shape lengthens the fingers visually and gives the design a feminine, polished silhouette that square or round shapes simply cannot match in the same way. Almond also suits the romantic theme perfectly, echoing the curves of the rose and the bow details rather than fighting against them. When the shape, the colour placement, and the charms all point in the same romantic direction, the whole manicure feels intentional and complete.
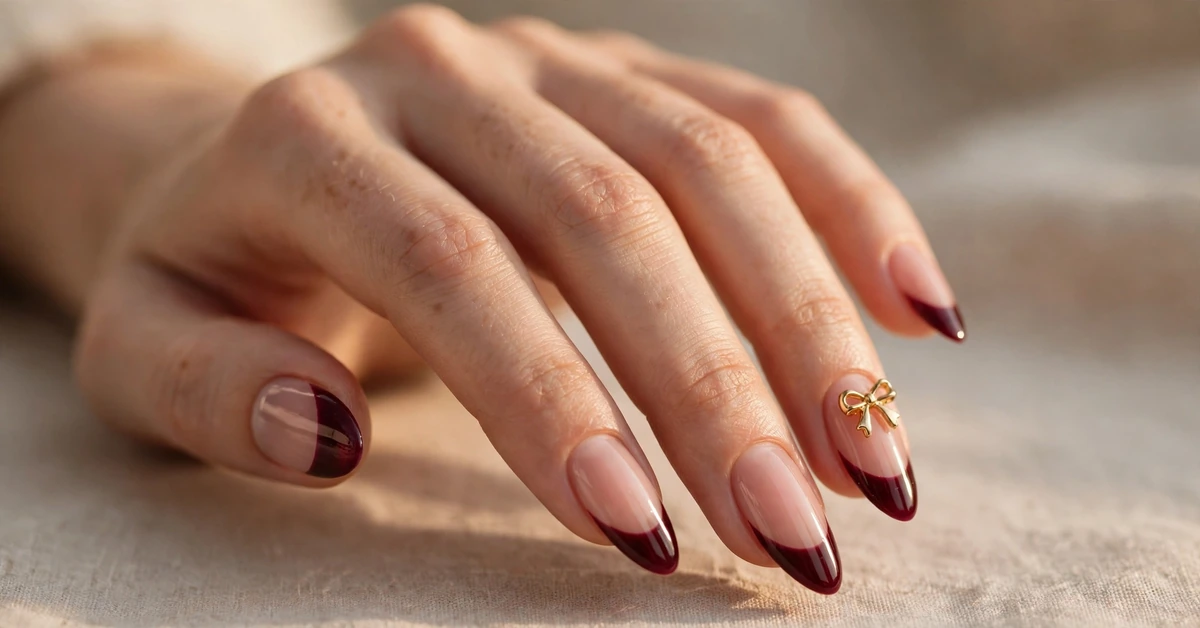
Gold is the thread that ties everything together. A thin gold ring, a tiny bow, a sprinkle of gold micro-detail around the heart: these small metallic touches lift the deep red out of flatness and give the manicure its jewellery-like quality. Gold and burgundy are a classic pairing for a reason, they warm each other up, and against a nude base they read as expensive rather than overdone. It is a design that photographs beautifully too, which is one reason it keeps appearing on social feeds season after season.
Choosing Your Burgundy Wine Red Shade
Not all burgundies are the same, and the exact wine tone you choose changes the whole mood of the manicure. A true wine red, with visible red warmth, feels festive and romantic and suits most skin tones easily. A deeper oxblood or blackberry-leaning burgundy looks moodier and more dramatic, which is beautiful for evening wear but can read almost black in dim light. If you are unsure, hold the polish bottle against your hand in natural daylight rather than under salon fluorescents, and check whether the shade warms or cools your skin.
For fair skin, a classic wine red with a touch of brightness keeps the hands from looking washed out. Medium and olive skin tones can carry both true wine and deeper plum-burgundy beautifully, while deeper skin tones look stunning with rich, saturated burgundy that has real depth rather than a sheer, watery finish. Whatever your tone, opacity matters: the burgundy tips in this design should be glossy and fully pigmented so they read as deliberate colour blocks against the nude base, not as a stain.
Almond Shape and Length: Getting It Right
Almond nails need length to work, because the taper is what creates the shape. If your natural nails are short, extensions in gel or acrylic will give you the canvas this design needs, and the finished length should feel comfortable for typing, cooking, and everyday tasks. A medium-long almond, roughly the length shown in the reference look, is the sweet spot: long enough to look elegant, short enough to live with. Very long, stiletto-like points shift the design from romantic to dramatic, which is a different look entirely.
Shaping is a skill worth paying for. A good technician files the sides at a gentle, even angle and rounds the tip into a soft point rather than a sharp spike, checking both hands side by side for symmetry. Uneven almonds are immediately noticeable, especially with a French tip, because the eye follows the tip line. If you maintain the shape at home, file in one direction only with a fine-grit file, and resist the urge to shorten from the tip, which flattens the almond into an oval.
Gold Bows and Heart Details: The Finishing Touch
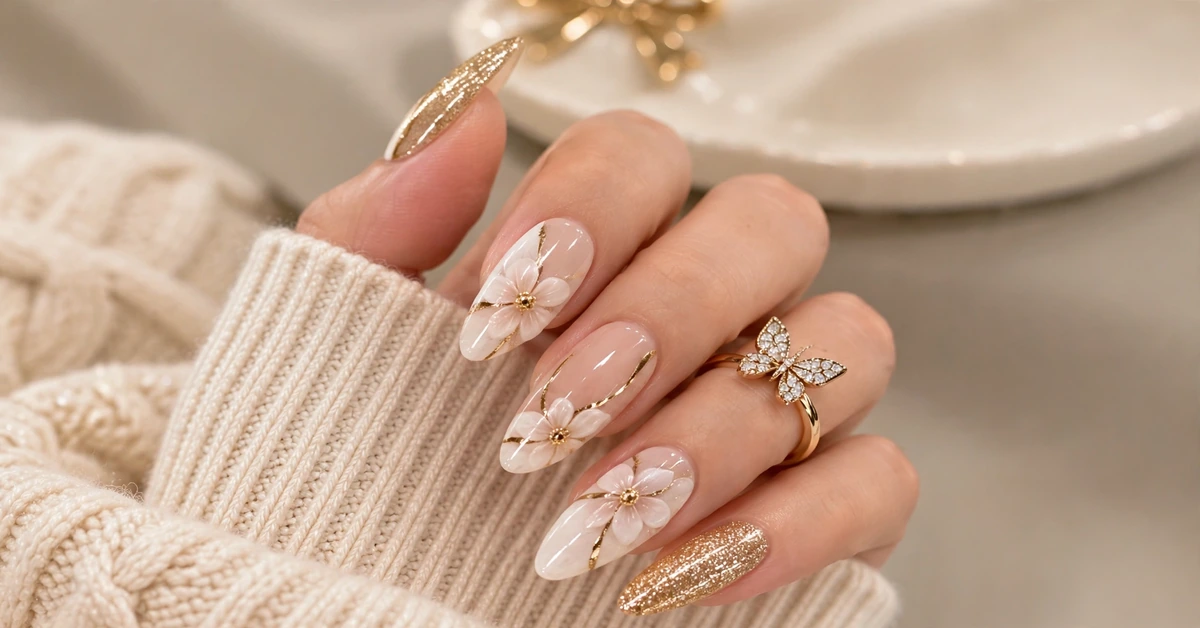
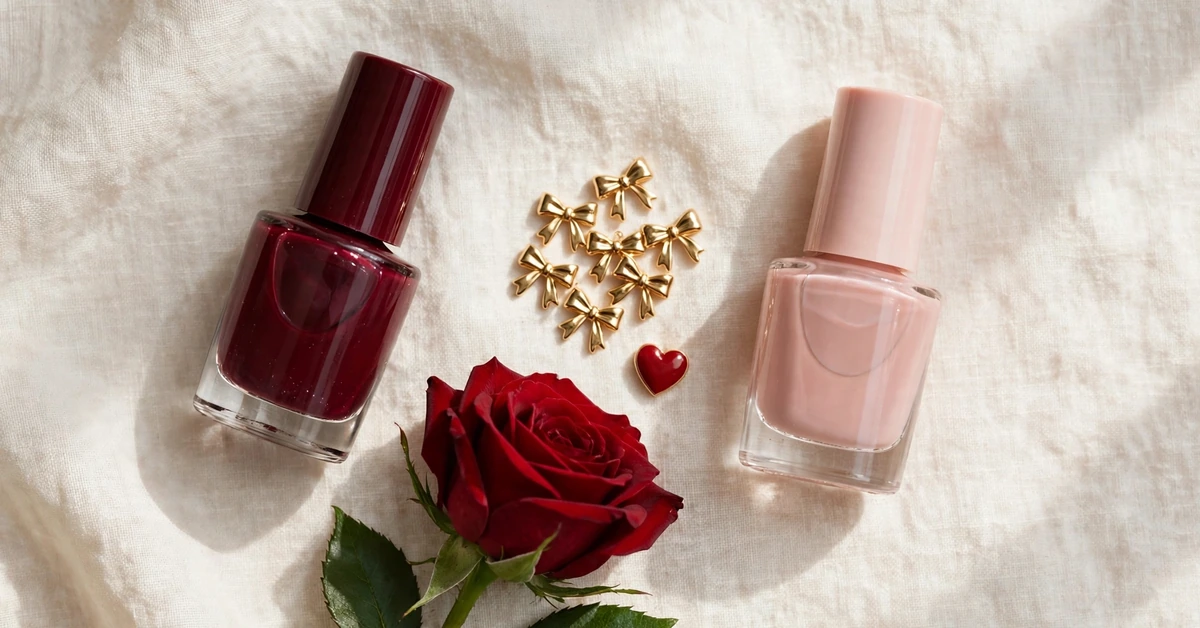
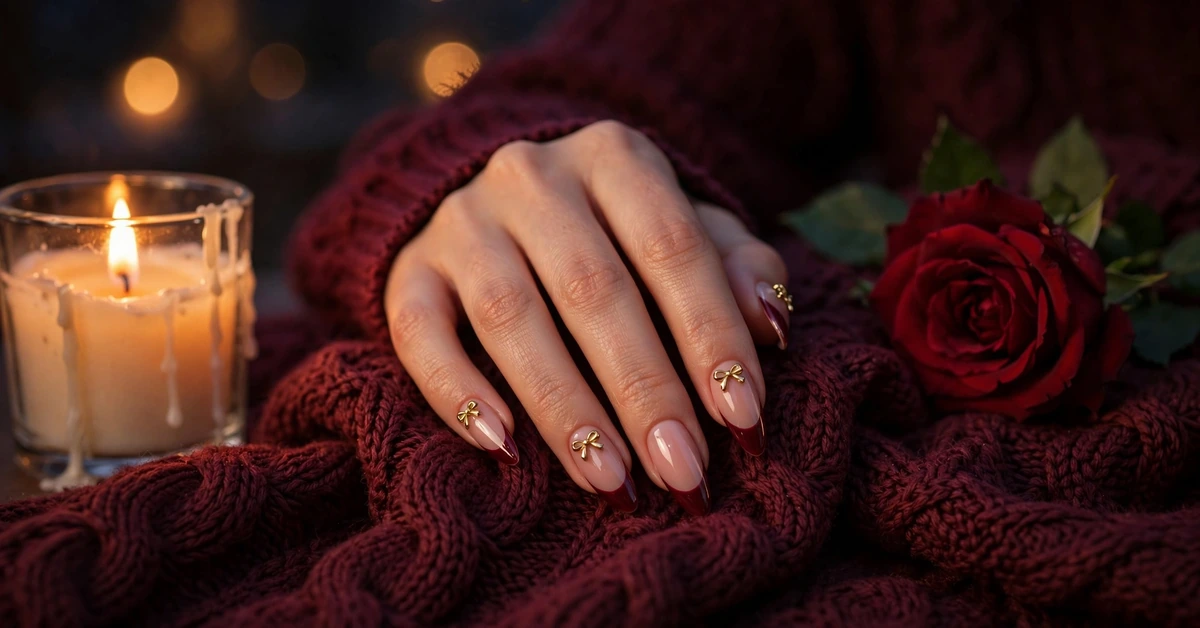
The charms are what turn a pretty burgundy French manicure into this specific design, so placement deserves real thought. In the reference look, the gold bows sit on the nude portion of two nails, with a tiny crystal at the centre of each bow, and the small red heart anchors another nail with delicate gold lines trailing from it. Spreading the charms across three accent nails, rather than loading every nail, keeps the design balanced: the eye travels across the hand instead of landing on clutter.
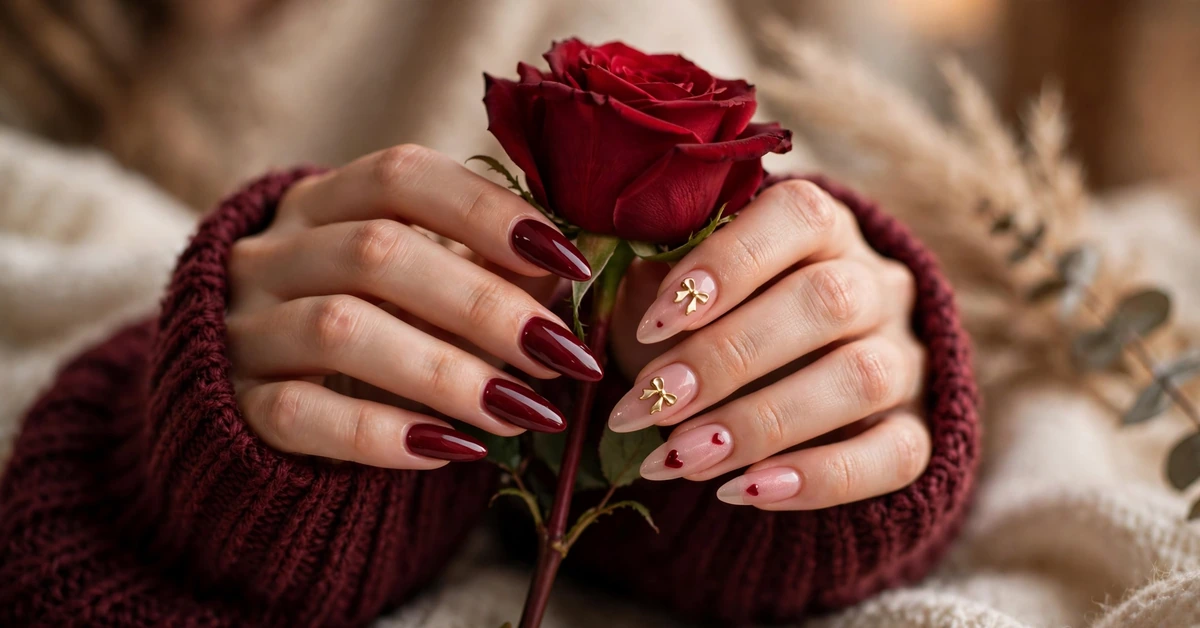
Scale is everything with 3D nail art. Bows and hearts should be small enough to sit comfortably within the nail width, with a little bare nail visible around them, and they must be sealed properly or they will catch on fabric and lift within days. A good technician embeds the charm in a drop of builder gel or applies it over a tacky layer, then encapsulates the edges with top coat so the charm feels smooth when you run a finger over it. If a charm feels rough or raised at the salon, ask for another layer of top coat before you leave.
If full 3D charms feel like too much for everyday wear, there are softer ways to keep the spirit of the design. A hand-painted gold bow, a tiny gold heart sticker sealed under top coat, or a single gold micro-bead at the centre of a painted bow all read as the same idea at a glance. The key is restraint: one or two charm nails per hand, with the remaining nails carrying the clean burgundy French, will always look more expensive than charms on all ten fingers.
What to Ask for at the Salon
Walking into the salon with a clear request makes all the difference, and showing the reference photo is the fastest way to get aligned. Ask for medium-long almond extensions or a builder overlay on your natural nails, a sheer pink-nude base, deep glossy burgundy wine red French tips, and gold bow charms with a small red heart accent on alternating nails. Name the finish too: high-gloss top coat is essential here, because shine is what sells both the burgundy and the gold.
It helps to discuss a few practical points before the work starts. Confirm whether the charms are included in the quoted price or charged as nail art extras, and ask how the charms will be sealed so they survive daily wear. Mention your lifestyle honestly: if you type all day, garden, or wash dishes without gloves, your technician may suggest a slightly shorter length or a stronger overlay. A good technician will also check the French tip line with you mid-service, because the smile line of the tip is the detail your eye notices most.
Finally, book the right amount of time. A full set with shaping, French tips, and 3D charm placement typically takes longer than a plain colour manicure, and rushing is how smile lines go uneven and charms go unsealed. Arrive with bare, clean nails if possible, avoid hand cream on the day, and plan your appointment so you are not immediately plunging your hands into water or heavy chores afterwards. The first few hours matter for curing and settling.
A Simpler DIY Version at Home
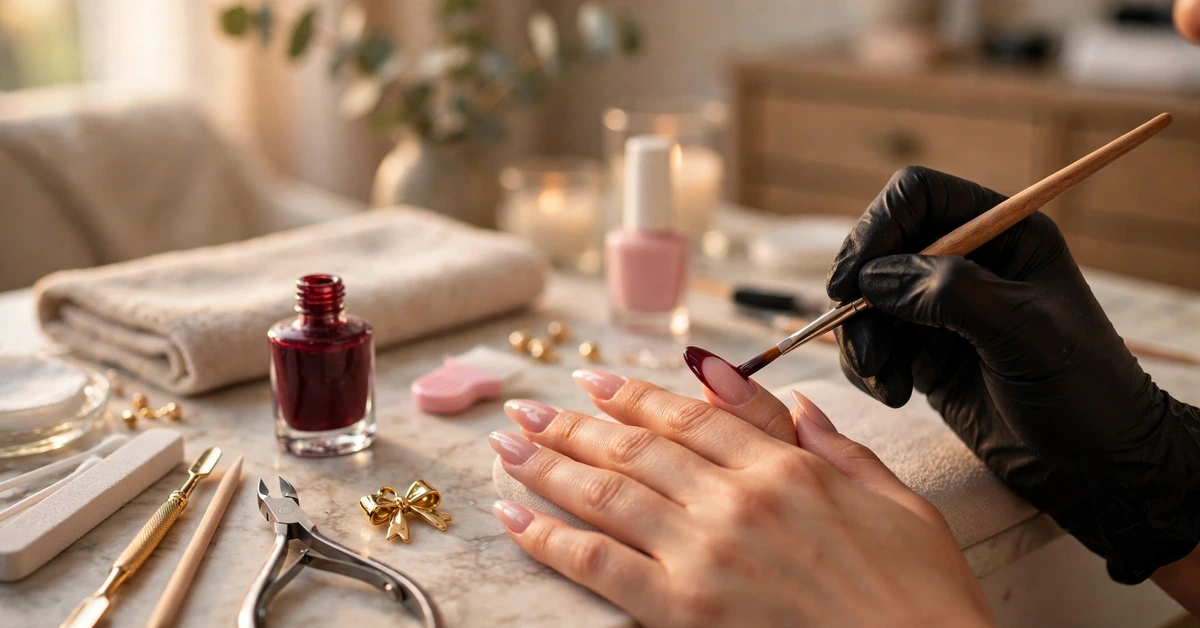
You can absolutely capture this look at home with a simplified approach, especially if your natural nails already have some length. Start with careful prep: push back cuticles gently, shape the nails into a soft almond with a fine file, and dehydrate the nail plate before base coat. Apply two thin coats of a sheer pink-nude polish, letting each coat dry fully, because thick coats are the main reason home manicures bubble and peel.
For the burgundy French tip, the easiest method is a French tip guide sticker or a thin nail art brush, painting the tip freehand in two light passes and cleaning the smile line with a flat brush dipped in remover. Keep the tip depth modest, roughly a third of the nail, so the nude base still does its lengthening work. Once the burgundy is dry, add pre-made gold bow stickers or tiny gold bow charms with a dot of nail glue, plus a small red heart sticker on one accent nail, then seal everything with two coats of glossy top coat, wrapping the free edge.
Styling Ideas and Occasions
This manicure was practically made for cosy, romantic styling. A chunky burgundy or cream knit, a thin gold ring or two, and a deep red lip pull the whole palette together without any extra effort. For date nights and winter dinners, the burgundy echoes wine glasses and candlelight beautifully, while for weddings and festive gatherings the gold bows add just enough celebration without competing with formal jewellery or an outfit that already has sparkle.
Daytime wear is easier than the drama might suggest. The nude base keeps the nails office-appropriate, and the burgundy tips read as a classic dark manicure at a glance, with the bows only revealing themselves up close. That makes this a genuinely versatile set: it works with camel coats, black tailoring, denim, and evening dresses alike. If your workplace is very conservative, keep the charms to one accent nail per hand and the design stays polished rather than party-ready.
Maintenance and Making It Last
A gel or structured set of this design should comfortably last two to three weeks with sensible care. The golden rule is gloves for cleaning and washing up, because water, detergents, and heat are the fastest way to lift gel and loosen charms. Apply cuticle oil daily, massaging it around the nail and under the free edge, which keeps the gel flexible and the surrounding skin looking groomed rather than dry and ragged.
Watch the charms specifically. Avoid picking at a bow or heart if it starts to lift, since pulling it off can take gel and nail layers with it; instead, book a quick repair or seal a wobbling charm at home with a dot of top coat until your next appointment. If a tip chips, a tiny dab of the matching burgundy under top coat will disguise it for days. And when it is time for removal, never peel or force gel off: soak off properly or return to the salon, because healthy nail beds are what make the next set look this good.