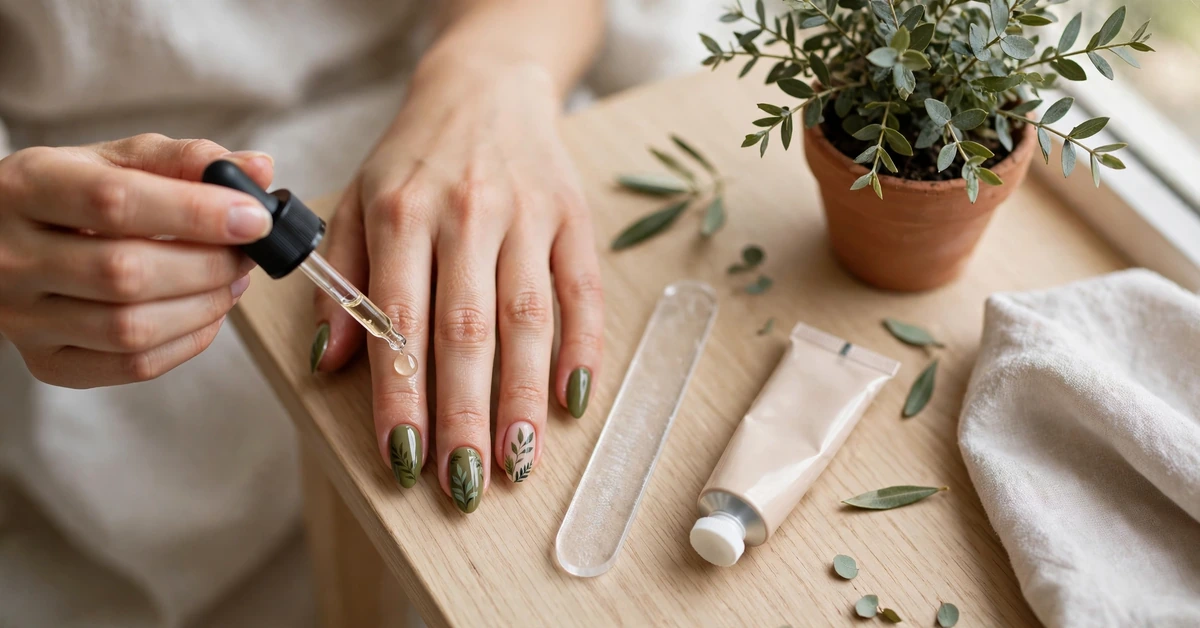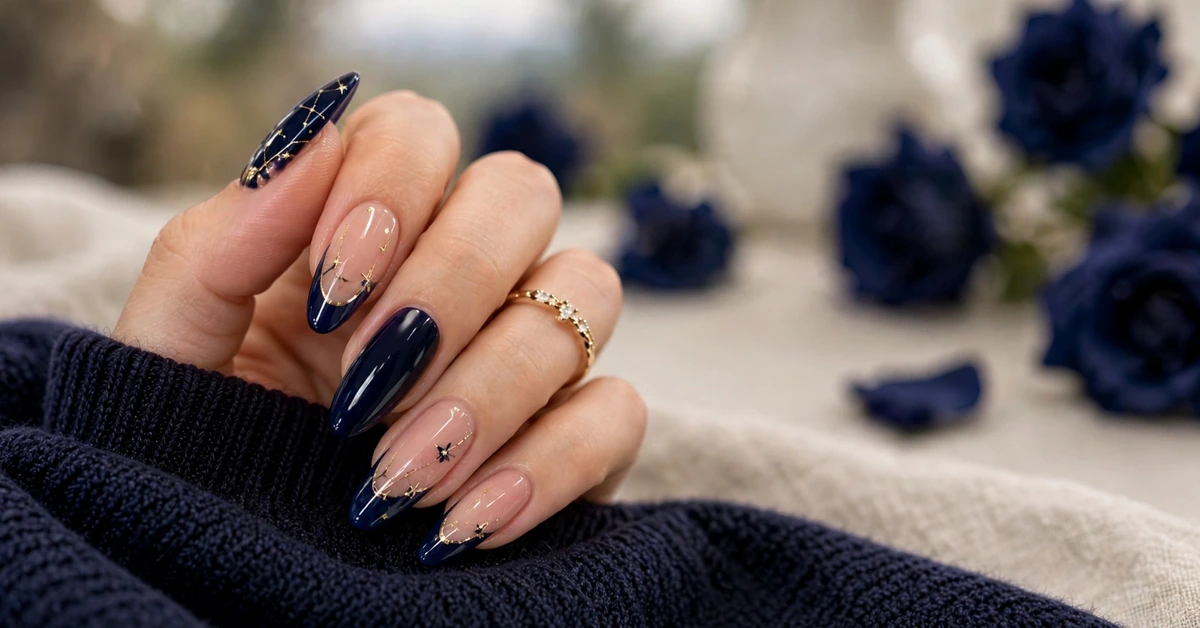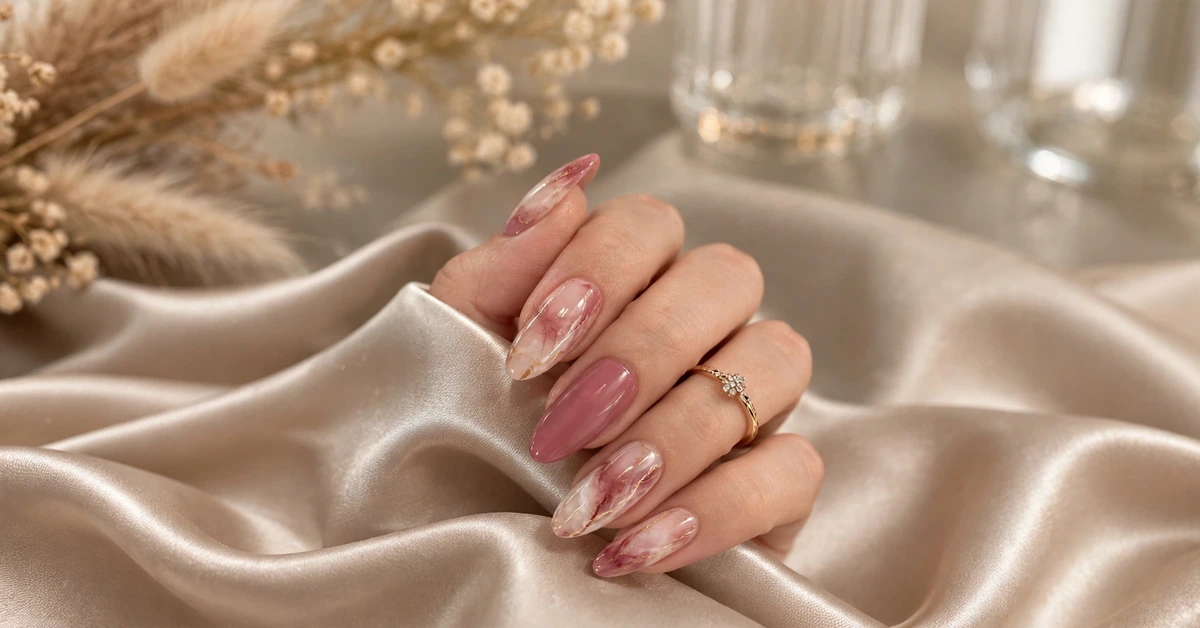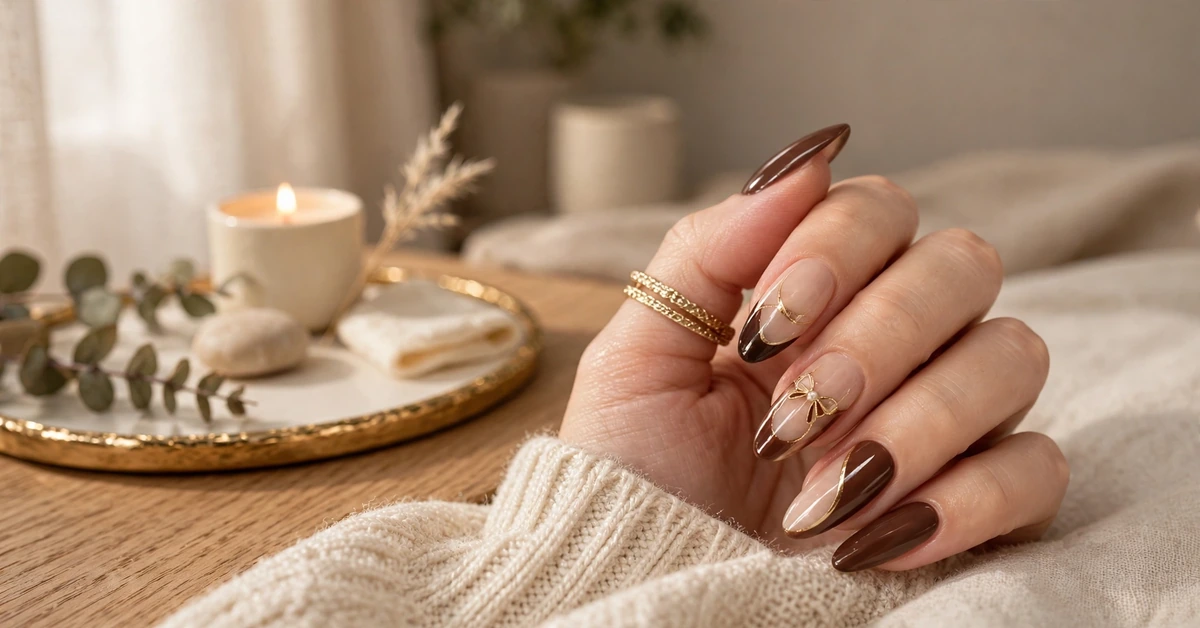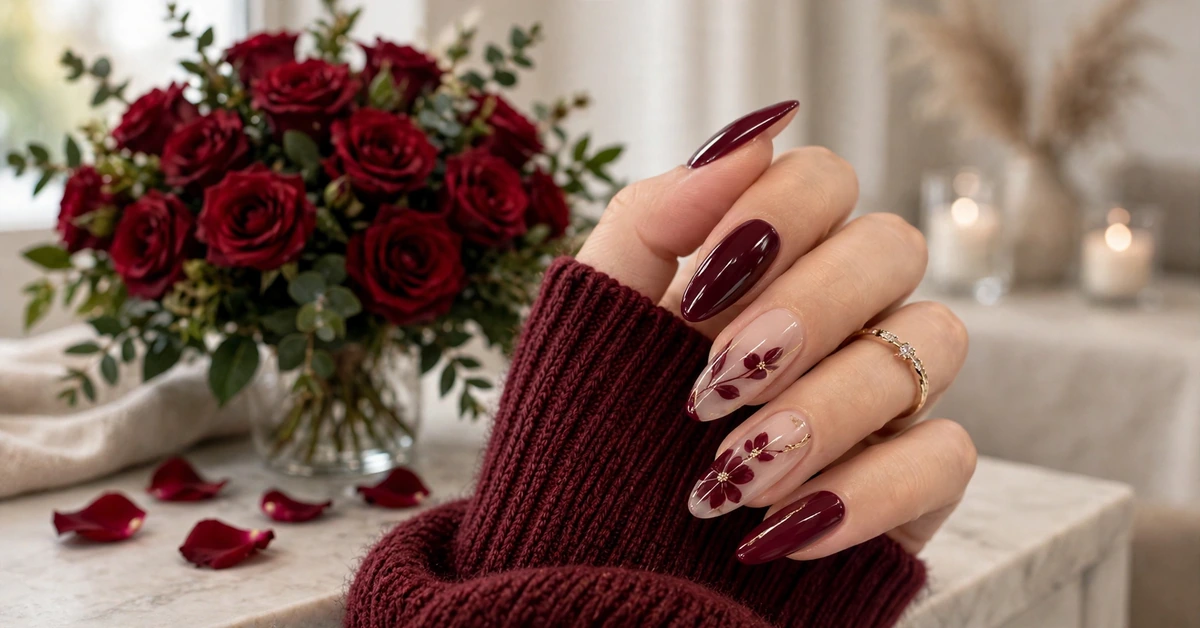
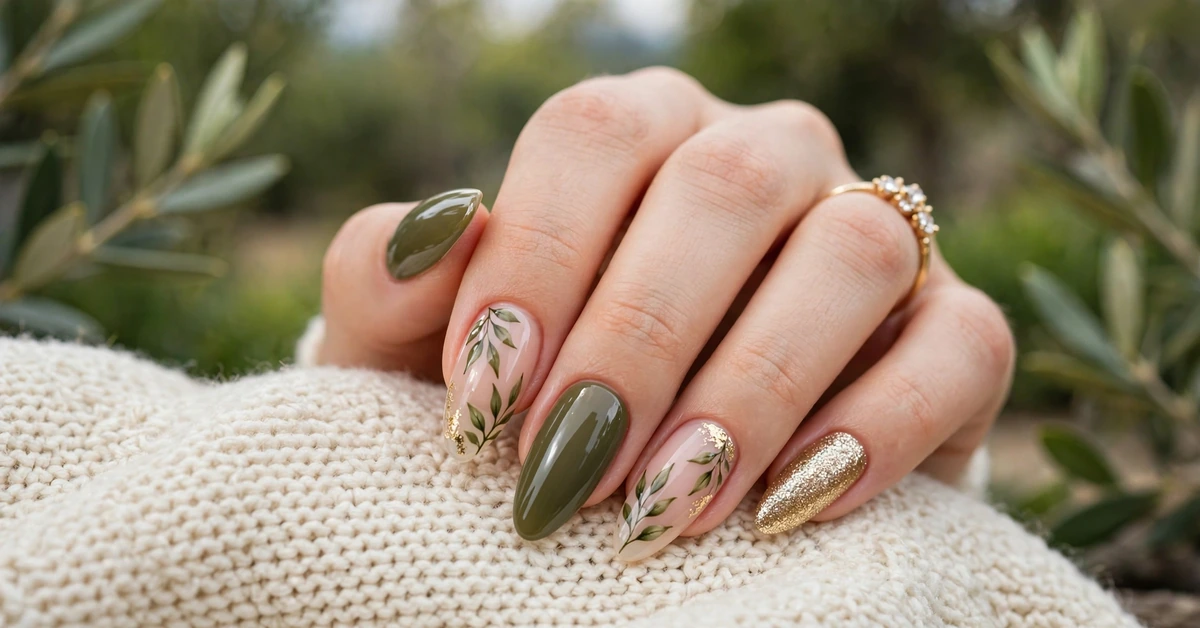
Quiet luxury is not about logos or loud statements. It is about beautiful materials, thoughtful details, and colours that feel expensive without trying too hard. These absolutely gorgeous olive green nails capture that feeling perfectly. Glossy earthy olive shades, delicate botanical leaf art on nude accents, and one sparkling gold glitter nail come together in an almond manicure that whispers rather than shouts. It is nature-inspired, elegant, and endlessly wearable. In this guide, we explore why olive green has become the quiet luxury shade of the moment, how to ask for this exact design, how to paint it yourself, and how to make it last.
Table of Contents
- Why Olive Green Is the New Quiet Luxury Neutral
- The Anatomy of This Botanical Manicure
- Finding Your Perfect Olive Shade
- How to Ask Your Nail Tech for This Look
- DIY Guide: Painting Botanical Leaf Art at Home
- Styling Olive Green Nails for Every Season
- Making Your Olive Manicure Last
Why Olive Green Is the New Quiet Luxury Neutral
For years, the safe neutrals in nail colour were nude, blush, and classic red. Olive green has quietly joined that list, and for good reason. It is an earthy shade drawn straight from nature, which gives it an organic, grounded feeling that brighter greens lack. On the nails, olive reads as sophisticated and understated, more like a beautiful cashmere sweater than a fashion statement.
The quiet luxury movement has made olive especially popular. The aesthetic celebrates quality over branding, and olive green nails fit that philosophy perfectly. They look considered and polished without demanding attention. Whether you are heading to the office, a dinner party, or a weekend in the countryside, olive nails feel appropriate everywhere, which is rare for a coloured manicure.
Olive also has a unique versatility. It pairs beautifully with the warm neutrals that dominate autumn wardrobes, like cream, camel, and chocolate, yet it also looks fresh against spring whites and summer linens. Because it sits between green and brown on the colour spectrum, it flatters a wide range of skin tones and complements both gold and silver jewellery, although gold brings out its warmth especially well.
The Anatomy of This Botanical Manicure
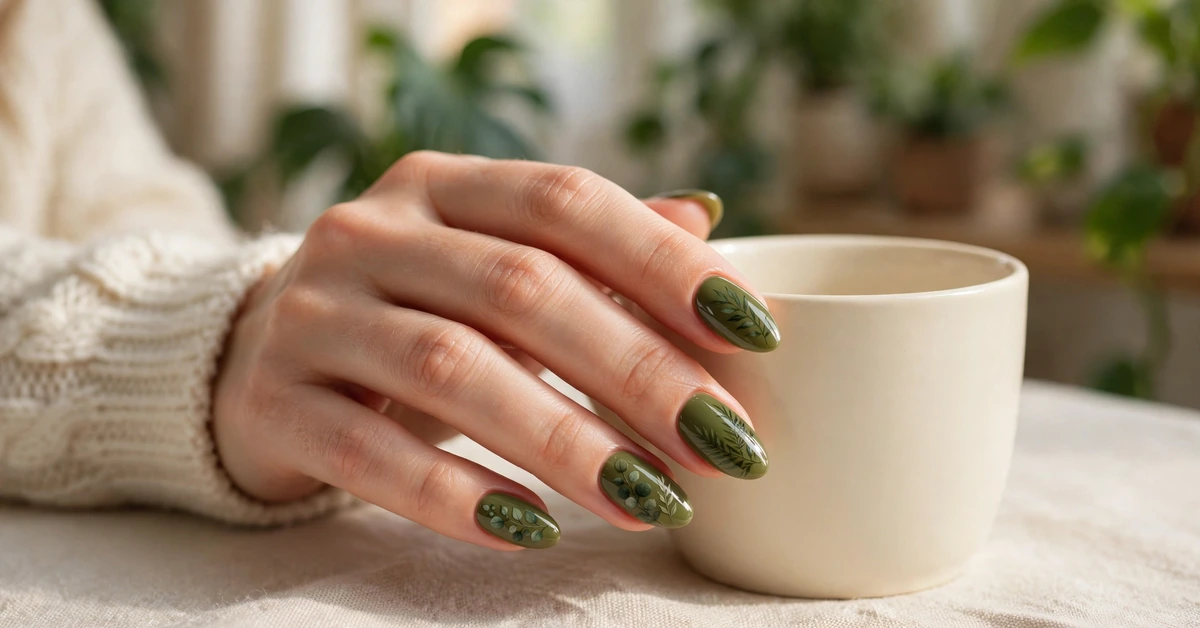
This design works because every nail plays a distinct role, creating a set that feels curated rather than uniform. The foundation is a long almond shape, which elongates the fingers and gives the design an elegant silhouette. The almond shape is also practical: its tapered point is less prone to snagging than a square edge, and it flatters both short and long nail beds.
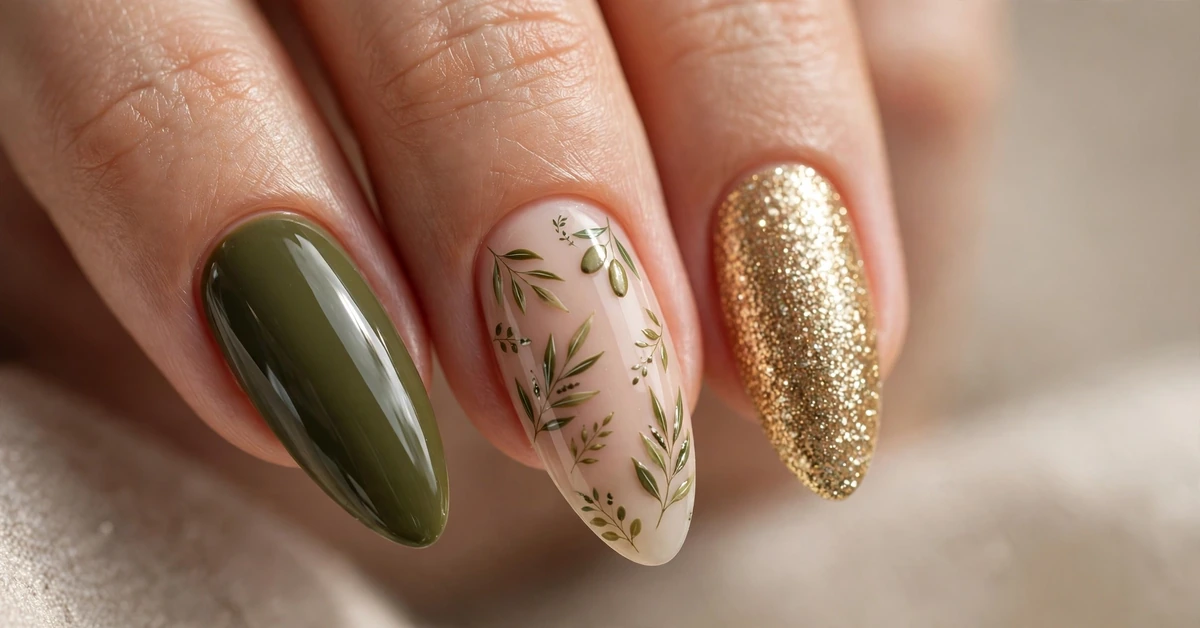
Most nails are painted in a glossy, earthy olive green, a shade with enough depth to look rich but enough softness to stay wearable. Against these, the accent nails are painted in a sheer nude that matches the natural nail, and each carries a delicate hand-painted botanical sprig. The leaves are painted in the same olive tones, with fine stems and subtle shading that give them a realistic, almost pressed-flower quality. A touch of gold at the base of one sprig adds a whisper of luxury.
The final accent is a single sparkling gold glitter nail. This is the jewellery of the set: it catches the light and draws the eye, but because it appears only once, it never overwhelms the calm botanical theme. A delicate gold ring with small stones completes the look, echoing the glitter nail and tying the warm metallic accents together. The overall effect is like a walk through a beautiful garden, captured on your fingertips.
Finding Your Perfect Olive Shade
Olive green spans a surprisingly wide range, from soft sage to deep army tones, and choosing the right one depends on your skin’s undertones. If your skin is fair with cool undertones, look for a muted olive with a slightly grey or sage cast. These softer olives will not overpower your complexion, and they keep the manicure feeling light and fresh.
For medium skin tones, a true earthy olive with balanced green and brown notes is ideal. This is the classic olive shade, rich without being dark, and it looks stunning against warm or neutral complexions. It is also the shade that photographs most beautifully, since it holds its colour in both natural and artificial light.
Deeper skin tones can carry the boldest olives with gorgeous results. A deep, mossy olive with real depth looks incredibly luxurious and makes the gold glitter accent pop dramatically. If you are unsure, ask your nail tech to paint one test nail in two or three olive shades and compare them in natural light. The right olive should make your hands look healthy and radiant, never washed out or muddy.
How to Ask Your Nail Tech for This Look
As with any detailed design, reference photos are your best tool. Save images of this exact manicure and show them to your nail tech, pointing out the elements you love: the almond shape, the glossy olive polish, the nude accent nails with hand-painted leaf sprigs, and the single gold glitter nail. Be clear about which nails should carry the leaf art, since placement changes the whole feel of the set.
Ask specifically for hand-painted botanical art rather than stickers or decals. Hand-painted leaves have a softness and variation that stickers cannot replicate, and they can be tailored to the length and curve of your own nails. Discuss the leaf style too: some people prefer a single elegant sprig per nail, while others love a fuller, more layered botanical look. Your tech can sketch the design on one nail first so you can approve it before the full set is painted.
Talk about the finish as well. This manicure relies on a high-gloss top coat to give the olive polish its lush, almost wet look, and to protect the delicate leaf art underneath. Gel polish is an excellent choice for this design, since it keeps the artwork sealed and chip-free for weeks. Allow extra time in your appointment for the hand-painted details, and do not be shy about asking your tech to adjust the design as it develops. The best nail art is a collaboration.
DIY Guide: Painting Botanical Leaf Art at Home
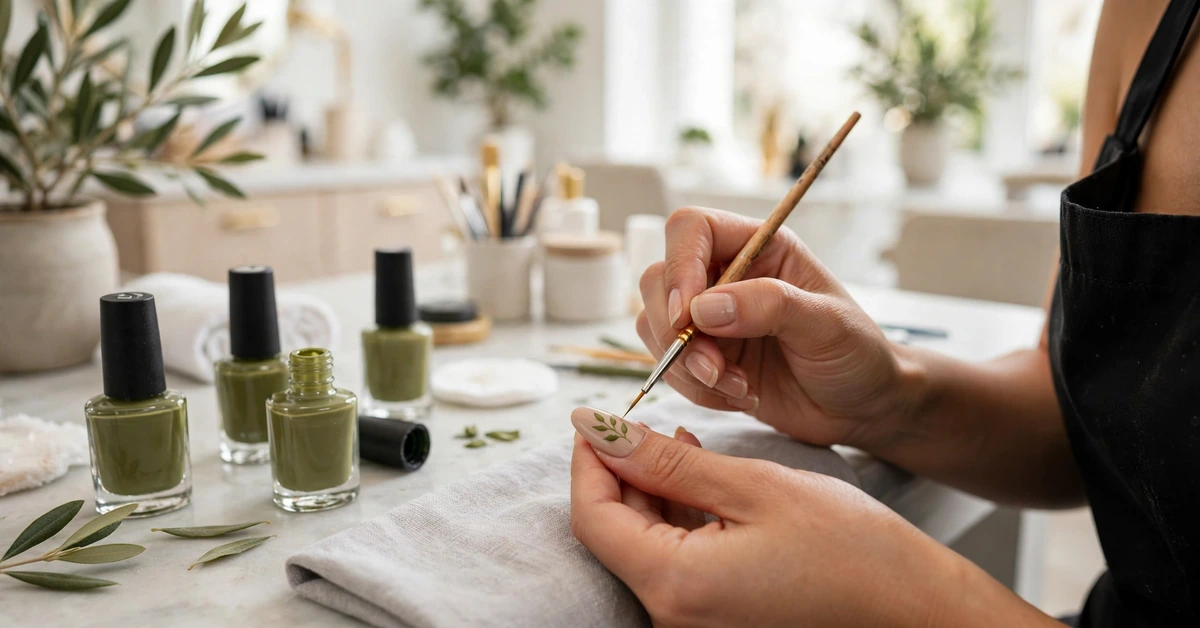
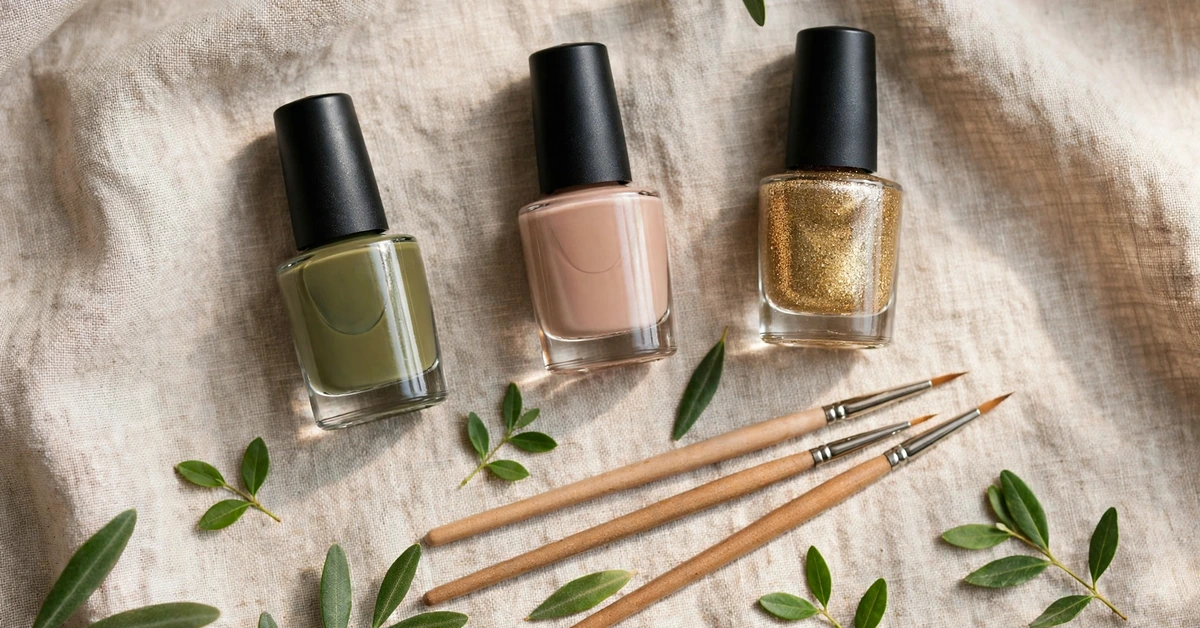
Painting botanical nail art at home sounds intimidating, but a simple leaf sprig is one of the most forgiving designs for beginners. Start by shaping your nails into an almond silhouette and preparing the nail surface carefully: push back cuticles, buff lightly, and apply a base coat. Then paint your olive nails with two thin coats of your chosen shade, and your accent nails with two coats of a sheer nude.
For the leaf art, you need only a fine detail brush and your olive polish, plus a slightly darker green for shading if you have one. Load the brush lightly and paint a thin, gently curving stem down the centre of the nude nail. Then add leaves one at a time, pressing the brush down and lifting it to create a tapered leaf shape. Alternate sides along the stem, varying the leaf sizes slightly for a natural look. If a leaf goes wrong, wipe it away with a small brush dipped in acetone and try again before sealing.
Once you are happy with the sprigs, add a tiny dot of gold polish or a speck of gold foil at the base of one sprig for that quiet luxury accent. Paint one nail fully in gold glitter polish, then seal the entire set with two coats of a high-gloss top coat. Work on one hand at a time, allow each layer to dry properly, and finish with cuticle oil. Your first attempt may not be salon-perfect, but the organic nature of leaves means small imperfections simply look natural.
Styling Olive Green Nails for Every Season
Olive green nails are a rare design that truly works all year round, and styling them is part of the fun. In autumn, they are at their best: pair them with cream knitwear, camel coats, and brown leather accessories for a look that feels like a countryside escape. The earthy tones harmonise beautifully, and the gold glitter accent echoes autumn’s golden light.
In winter, olive nails add warmth to darker wardrobes. They look beautiful against charcoal, black, and deep burgundy, softening the palette with an organic touch. A gold ring or bracelet keeps the metallic accent of the manicure alive, and the glossy finish catches festive lights beautifully.
Come spring and summer, olive nails take on a fresh, garden-inspired character. They pair wonderfully with white linen, soft pastels, and floral prints, acting as a grounding neutral that lets lighter colours shine. A simple gold band and a woven bag complete an effortless warm-weather look. Because olive is a true neutral in practice, you will reach for it again and again, whatever the season.
Making Your Olive Manicure Last
Botanical nail art deserves a little extra care, since the delicate leaf details are the first thing to suffer from chips and wear. The most important habit is wearing gloves for household chores. Hot water, detergents, and cleaning products dull the gloss and lift the edges of polish, so protect your manicure during washing up and cleaning.
Apply cuticle oil every day, massaging it into the nail and surrounding skin. This keeps the nails flexible, prevents the polish from becoming brittle, and nourishes the cuticles so the whole manicure looks freshly done. Reapply a thin coat of high-gloss top coat every two to three days to reseal the design, refresh the shine, and protect the leaf art from daily wear.
Avoid using your nails as tools, and be gentle with the glitter accent nail, since glitter polish can catch on fabrics. If a small chip appears on an olive nail, a dab of matching polish and top coat will hide it easily. Chips on a leaf-art nail are trickier, but a tiny touch-up with a detail brush can usually restore the sprig. Book a fresh set every two to three weeks, and with consistent care, your olive botanical manicure will stay gorgeous from the first day to the last.