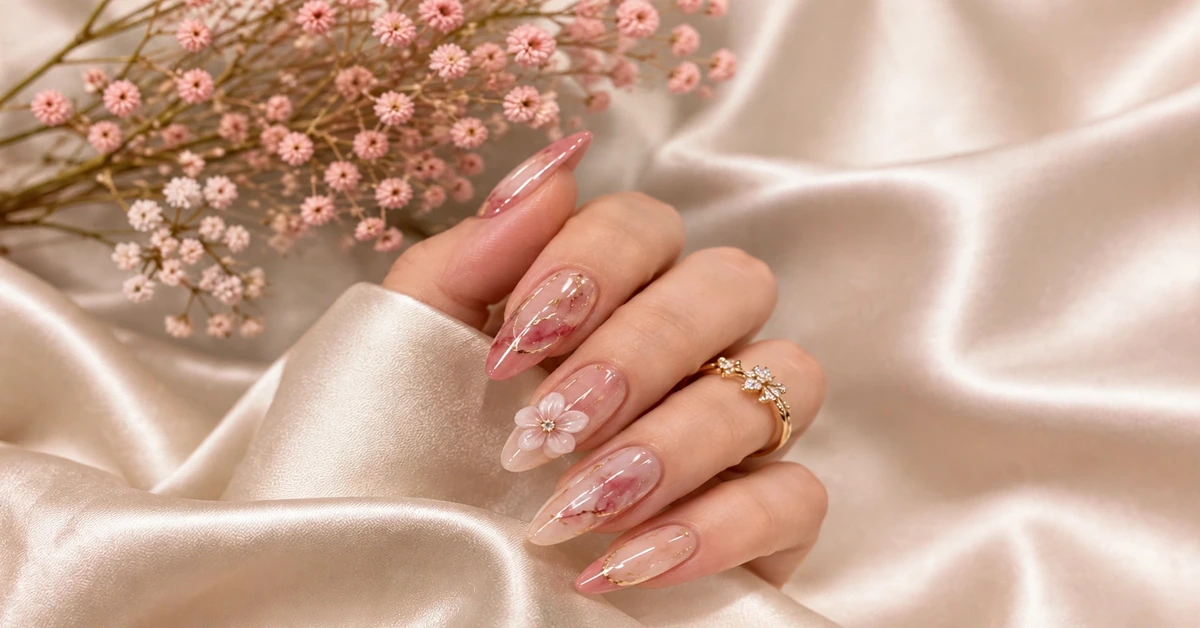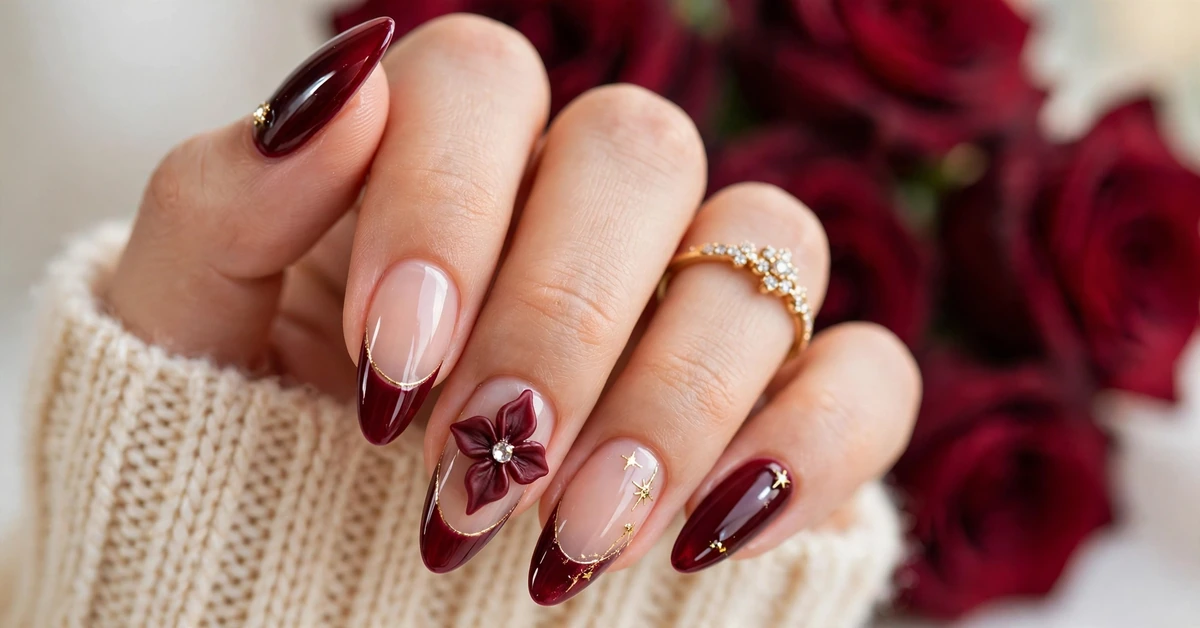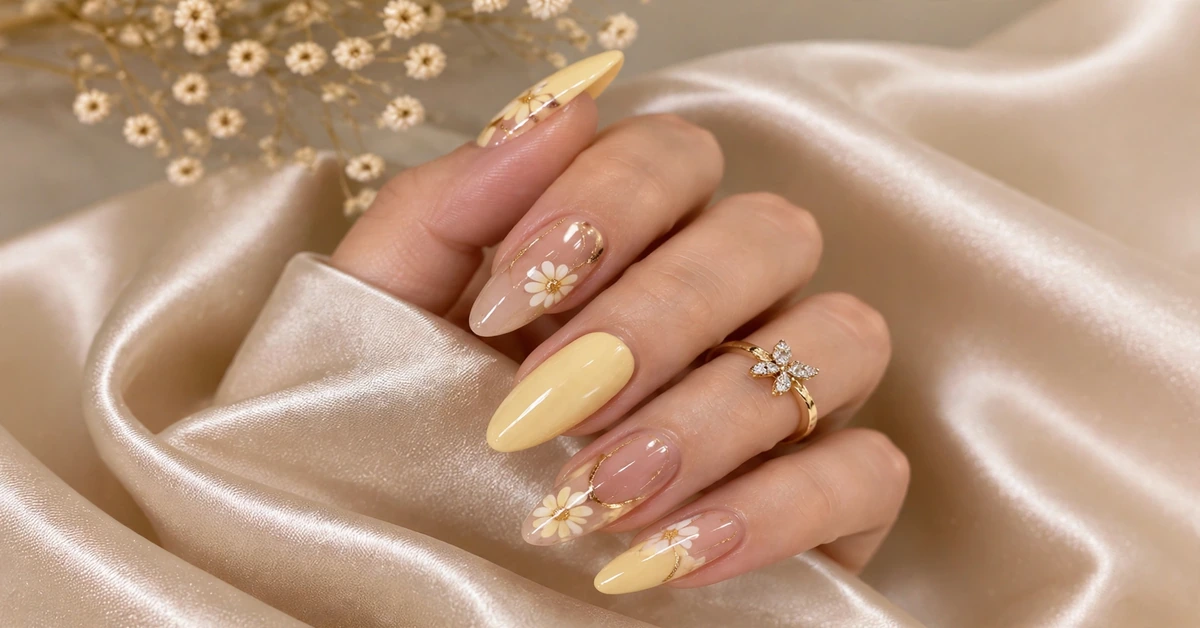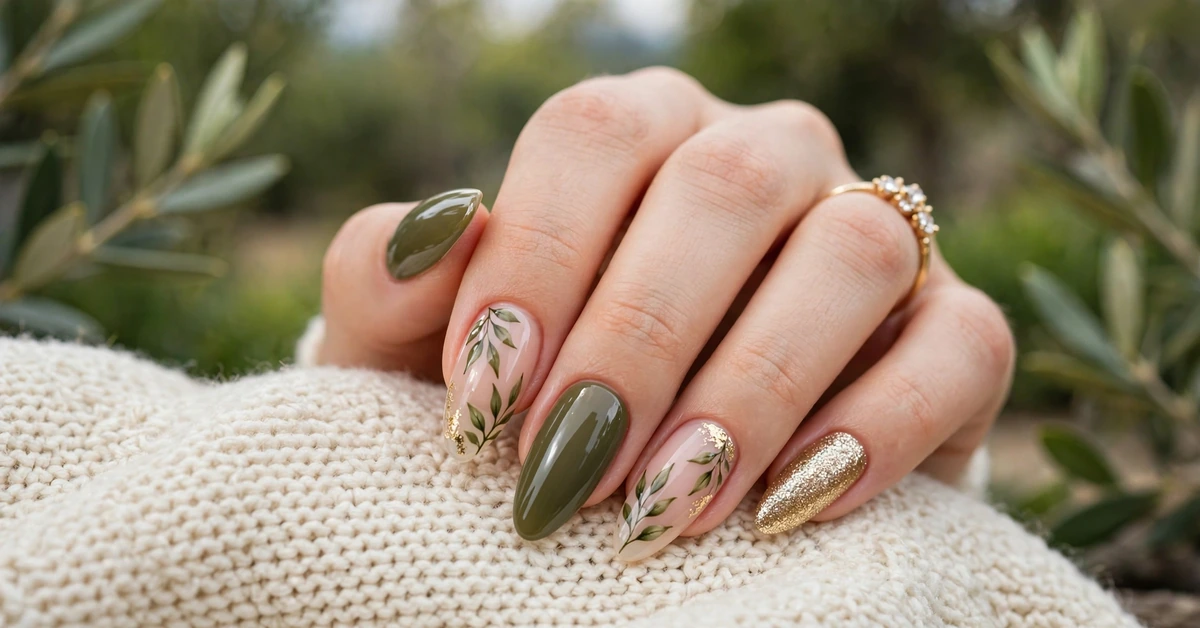
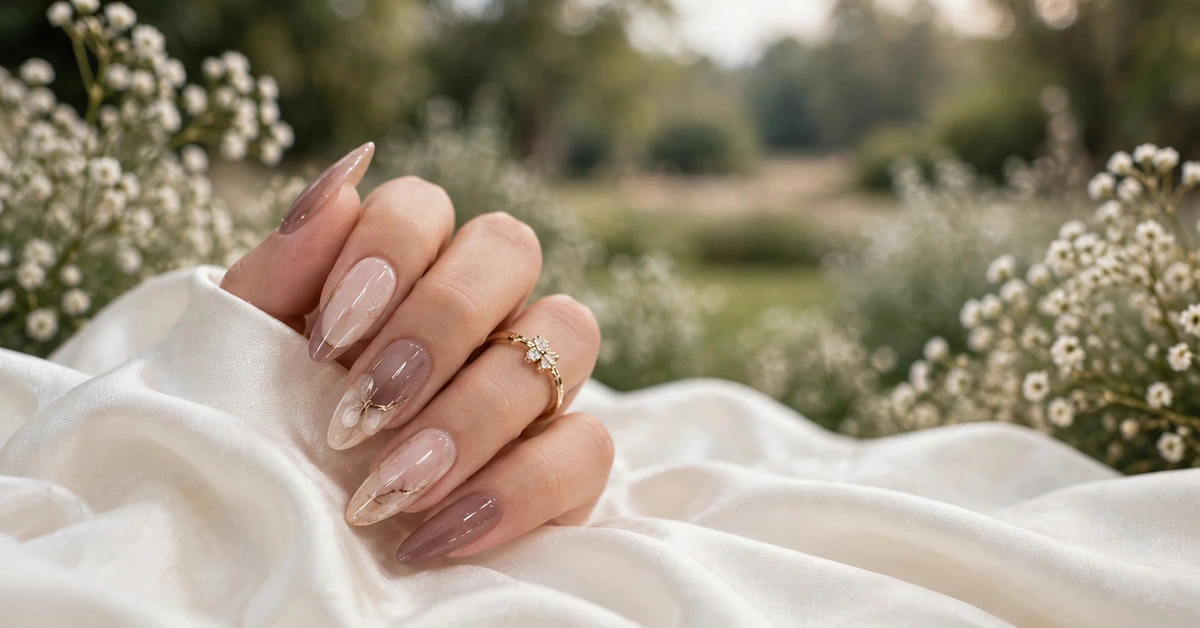
Some manicures whisper rather than shout, and mauve marble nails are the perfect example. Soft dusty-rose tones melt into pale nude, fine white veins drift across the surface like silk, and a thread of gold catches the light just when you move your hand. The result feels romantic, expensive, and effortlessly bridal, yet it is gentle enough for everyday wear. It is the kind of design that makes people ask where you had your nails done, even when the answer is your own living room.
This guide covers everything about mauve marble almond nails with soft gold accents: why the colour combination works, how the marble effect is created, exactly what to ask for at the salon, a realistic at-home method, and how to keep the delicate veining looking crisp until your next appointment. If you love soft, feminine nails with a touch of luxury, this is your design.
Table of Contents
- Why Mauve Marble Feels So Romantic
- Decoding the Design
- What to Ask for at the Salon
- How to DIY Marble Nails at Home
- Styling for Weddings and Special Occasions
- Keeping the Marble Crisp
- Mistakes to Avoid and Quick Fixes
Why Mauve Marble Feels So Romantic
Mauve sits in a rare sweet spot between pink and purple, with a dusty, muted quality that reads as grown-up rather than girly. It flatters cool and warm skin tones alike, because its greyish undertone keeps it from clashing with either. When mauve is softened into marble, with white veining and pale nude sections, it loses any heaviness and becomes airy and dreamlike, like rose quartz or the inside of a seashell. That softness is what gives the design its romantic character.
The almond shape deepens the effect. A tapered, softly pointed tip lengthens the fingers and gives the hand a graceful line, which suits the flowing, organic nature of marble far better than a square edge would. On almond nails, the veins can travel diagonally across the nail, creating movement and a sense of length. The overall impression is delicate and polished, the nail equivalent of silk rather than sequins.
Gold is the detail that stops the look from feeling too pale or washed out. A fine gold vein, a dusting of gold foil, or a thin metallic accent adds warmth and light, and it connects the manicure to jewellery in a way that feels intentional. Against white satin, a wedding dress, or a soft knit, the gold glints quietly, and the whole design feels considered rather than simply pretty.
Decoding the Design
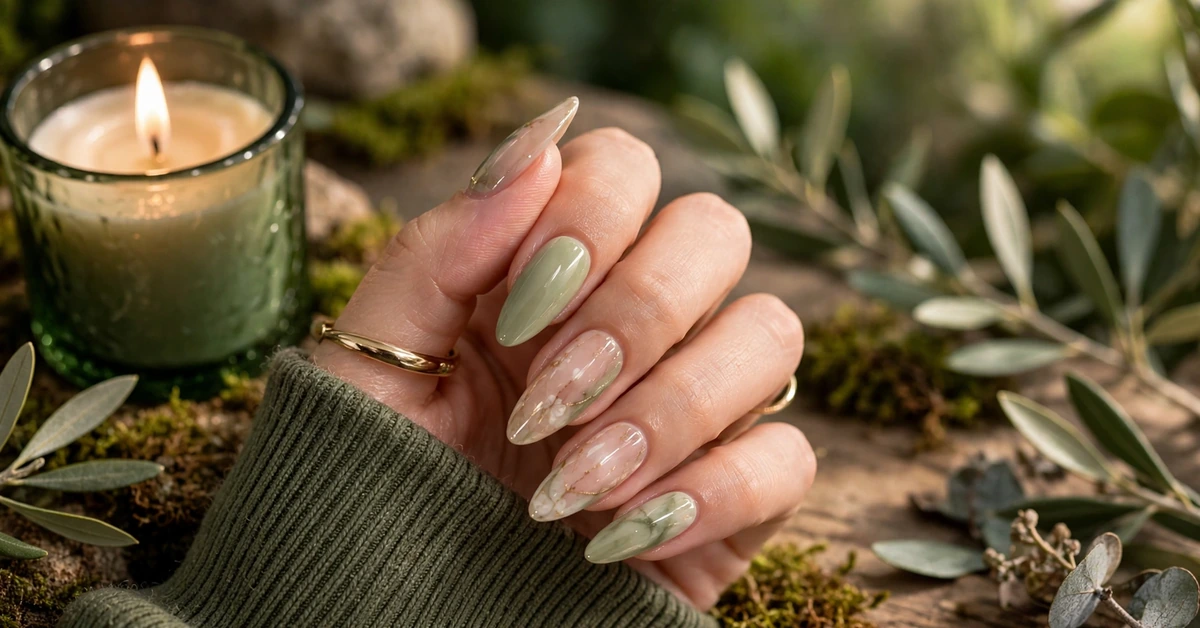
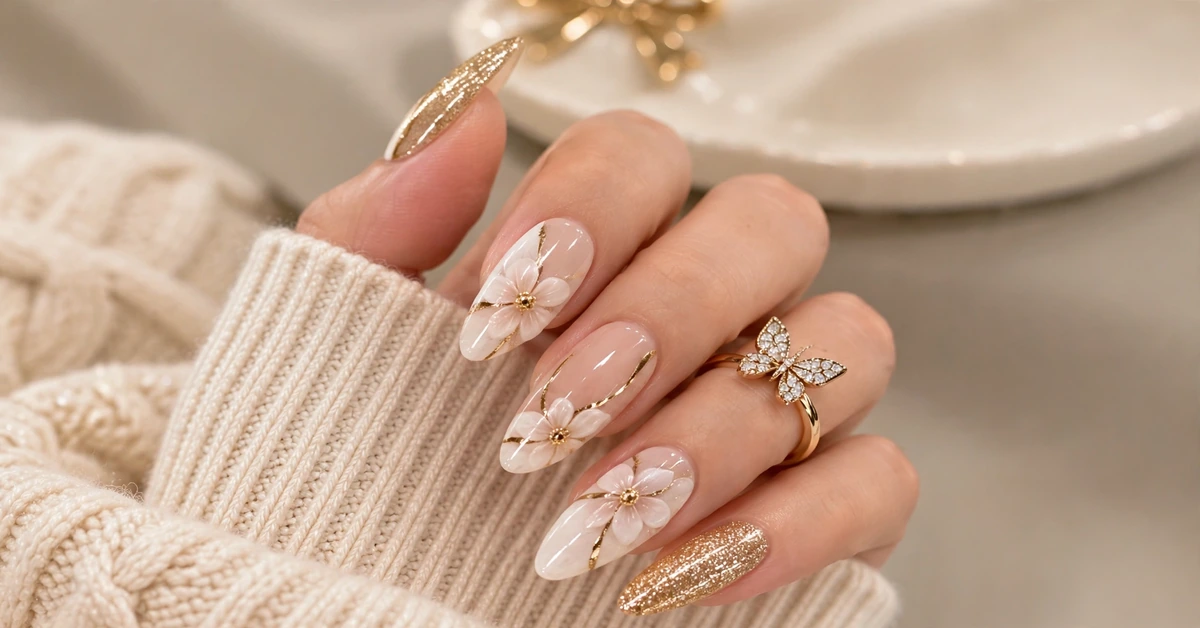
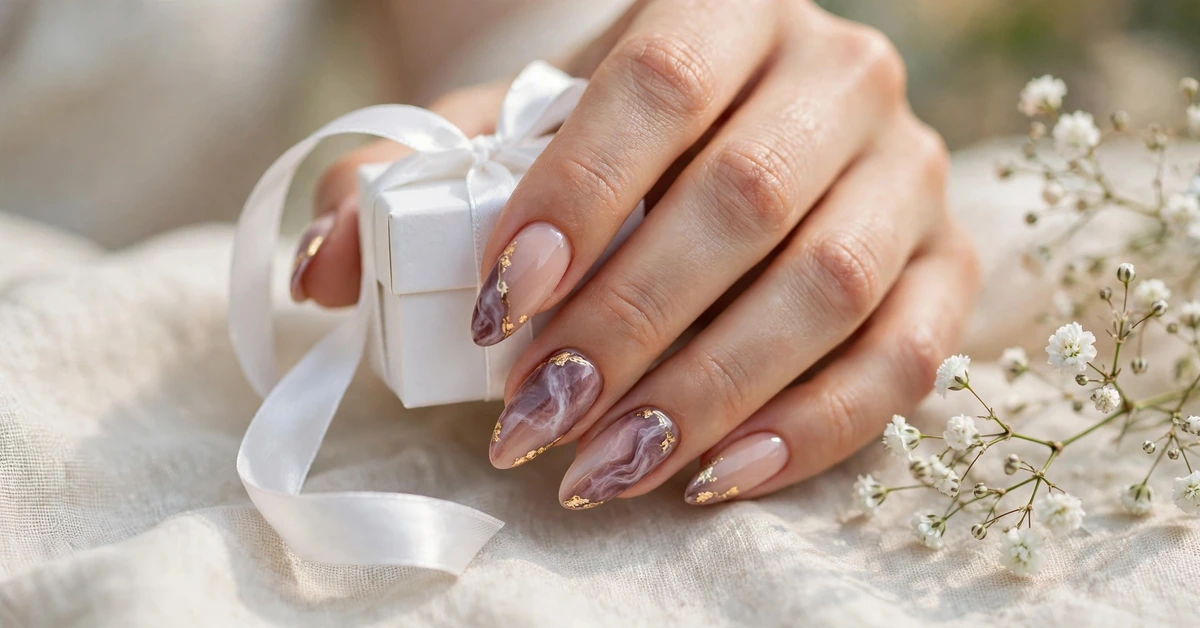
A classic mauve marble manicure is not uniform from nail to nail, and that variation is part of its beauty. Usually, one or two nails on each hand carry a full marble pattern, where mauve and white swirl together, while the remaining nails wear solid mauve, sheer nude, or a pale blush. The gold appears sparingly: a single fine vein through the marble, a scattering of gold flakes near the cuticle, or a slim metallic line tracing the edge of a solid nail.
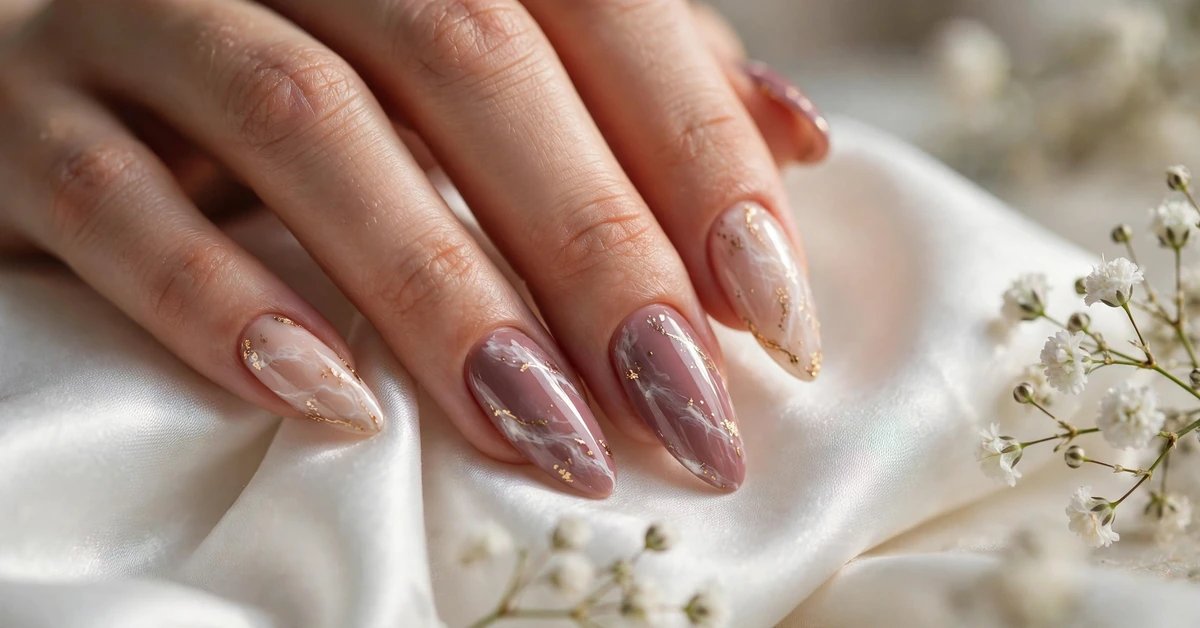
The marble itself is created by blending colours while they are still wet. A mauve base is laid down, then white polish is drawn across it in thin, irregular lines and gently blurred, so the boundary between the two colours softens into a stone-like pattern. The best marble veins are uneven in width, branching like cracks in real stone, with some areas where the mauve dominates and others where white takes over. Perfect symmetry would look printed; the hand-drawn irregularity is what makes it look like real marble.
Gold veins are added with a different technique. Some artists paint them with a fine liner brush and metallic gold polish, while others press tiny pieces of gold foil onto the tacky surface and seal them under top coat. Foil gives a slightly textured, leaf-like shimmer, while painted lines look cleaner and more precise. Both work beautifully, and many technicians combine the two, using painted veins for structure and a few foil flecks for sparkle.
What to Ask for at the Salon
As with any detailed design, a clear brief and a reference photo make all the difference. Describe the look in three parts: “Almond shape, medium-long length, mauve and nude marble on accent nails, solid dusty-rose on the rest, with fine gold veins and a little gold foil.” Mention which nails you want fully marbled and which you want solid, because the balance between pattern and plain colour is what keeps the manicure elegant rather than busy.
Ask whether your technician prefers gel polish or builder gel for marble work. Gel is the usual choice, because the wet layers can be blended on the nail before curing, and the finished result has a glassy depth that regular polish struggles to match. If your nails are naturally short, discuss whether almond extensions are right for you, and be realistic about length: marble looks best when the nail is long enough for the veins to travel, so a medium almond length is usually more flattering than a very short one.
Colour matching matters with mauve, because the shade can shift dramatically between brands. Ask the technician to show you two or three mauve options against your skin before starting. The right one should look dusty and soft, not bright purple or muddy brown, and it should sit comfortably next to the nude shade you choose. A quick side-by-side comparison at the start saves a full redo later.
How to DIY Marble Nails at Home
Marble nails are one of the most forgiving designs to try at home, because the technique relies on happy accidents rather than precision. Begin by shaping your nails into an almond form, pushing back cuticles, and applying a base coat. Paint the solid nails first with your mauve and nude shades, two thin coats each, and set them aside to dry while you work on the marble accents.
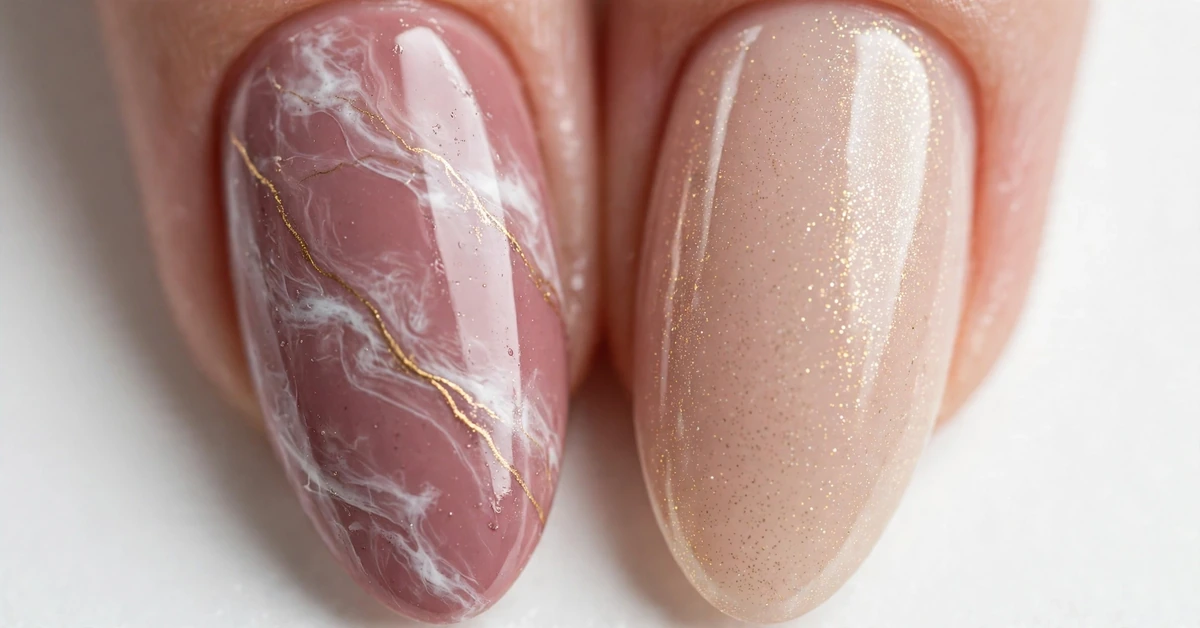
For a marble nail, apply one coat of mauve polish and, before it dries, use a toothpick or fine brush to draw thin, wobbly lines of white polish across the surface. Drag a clean, dry brush lightly through the lines to blur them, then add one or two finer white veins on top for definition. A tiny dot of gold polish dragged into a thin line gives the signature gold vein. Work one nail at a time so the polish stays wet enough to blend, and do not worry about making each nail identical; variation is the point.
If you prefer a water-marble method, drop mauve, white, and nude polish into a cup of room-temperature water, swirl the colours with a toothpick, and dip the nail through the film. This creates a more dramatic, swirling marble, but it is messier and uses more polish, so protect the skin around your nails with liquid latex or tape first. Whichever method you choose, finish every nail with a thick, glossy top coat, which smooths the veins and gives the marble its stone-like shine.
Styling for Weddings and Special Occasions
Mauve marble nails were practically made for weddings, engagements, and formal occasions. The dusty-rose tones photograph beautifully, complement white and ivory fabrics without competing with them, and look refined next to a bouquet. If you are the bride, this design pairs perfectly with a gold flower ring or a delicate bracelet, and it will look just as good in close-up ring photos as it does from across the room.
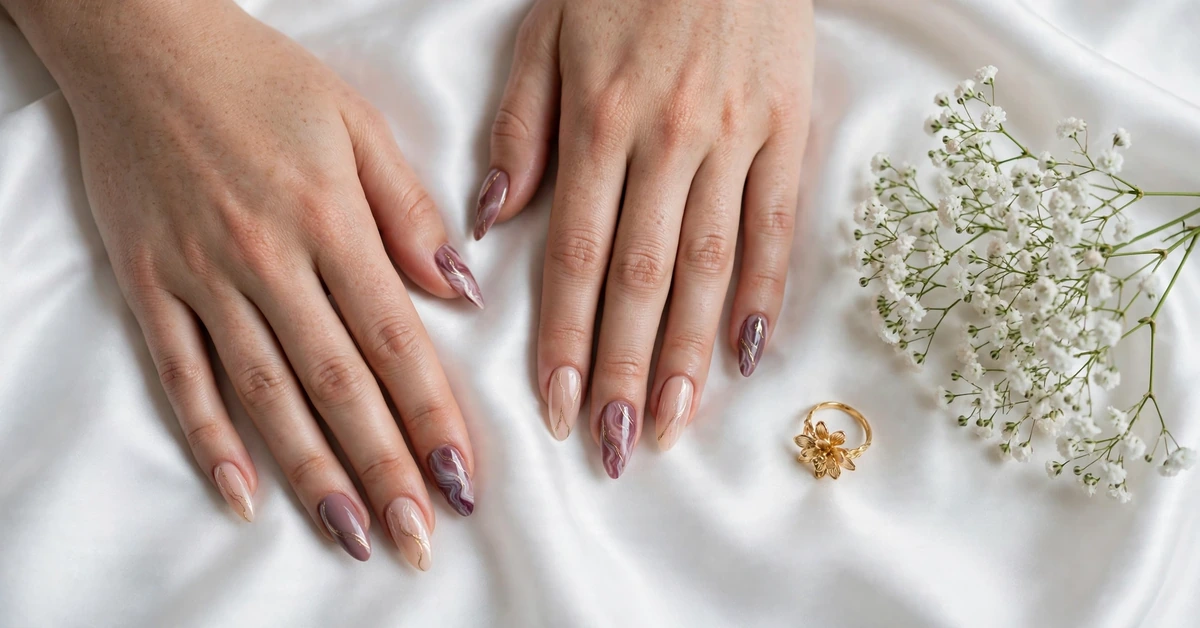
For guests, the same manicure works with a wide range of outfits: dusty pink dresses, champagne satin, soft grey, and even deeper shades like plum or navy, where the pale marble provides a gentle contrast. The gold accents mean you can wear gold jewellery without a second thought, and the design is quiet enough to suit a church ceremony as well as a late-night reception.
Beyond weddings, mauve marble is a lovely choice for anniversaries, baby showers, and any occasion where you want to look polished without looking overdone. It also transitions gracefully into everyday life after the event, which is more than can be said for many occasion manicures. A design that survives the party and still looks right at work on Monday is a design worth repeating.
Keeping the Marble Crisp
Delicate veining needs a little protection to stay sharp. As with any manicure, gloves for cleaning and washing up are essential, since water and chemicals lift polish at the edges and can dull the top coat. Cuticle oil applied daily keeps the nails flexible and the surface glossy, and it has the added benefit of making the gold accents gleam. Reapply a thin layer of top coat every two or three days to seal the veins and refresh the shine.
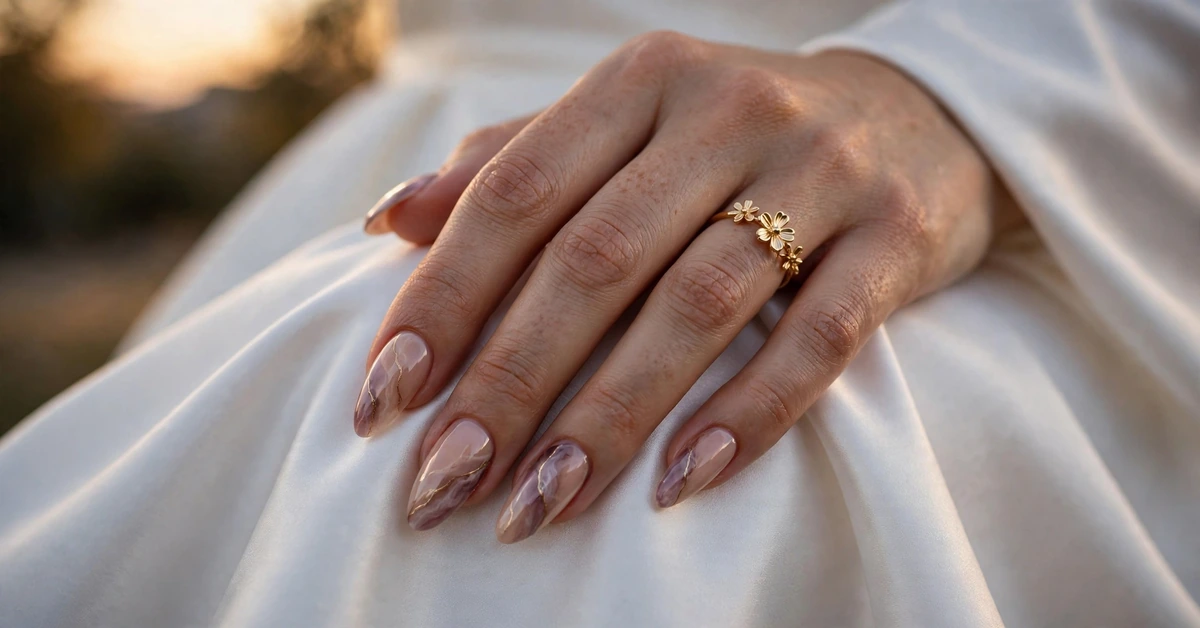
Be careful with activities that scuff the nail surface, such as typing aggressively on rough keyboards or opening packages with your nails. Light scratches in the top coat show up more on marble designs than on solid colours, because they break the smooth, glassy surface that makes the stone effect convincing. If the top coat does dull, a fresh coat usually restores the look completely, so keep a bottle of your favourite top coat at home.
For gel versions, avoid peeling or picking at the polish, however tempting it is as it grows out. Peeling removes layers of your natural nail and leaves a rough surface that makes the next marble application harder to blend. Book a professional soak-off or a maintenance appointment at around three weeks, and your nails will stay healthy enough to carry this delicate design again and again.
Mistakes to Avoid and Quick Fixes
The most common marble mistake is over-blending. If you drag the brush through the wet polish too many times, the mauve and white merge into a flat, muddy lilac with no veins at all. Blend lightly, step back, and judge the nail from a normal distance. It is always easier to add one more fine vein than to rescue an over-blended nail, though a fresh thin coat of mauve over the top can give you a clean slate if needed.
Another error is using too much gold. Gold is the accent, not the main event, and a heavy hand with foil or metallic lines can turn a romantic design into something loud. Start with one fine gold vein or a few small flecks per nail, seal with top coat, and only add more if the design still feels flat. Restraint is what keeps mauve marble looking expensive.
Finally, watch the nude shade you pair with the marble. A nude that is too yellow can clash with mauve’s cool dustiness, while a very pale nude can disappear entirely next to the marble. Choose a soft pink-beige nude that shares the same muted warmth as your mauve, and the whole manicure will read as one harmonious design rather than separate ideas competing on the same hand. Get that balance right, and your mauve marble almond nails will look effortlessly, endlessly romantic.