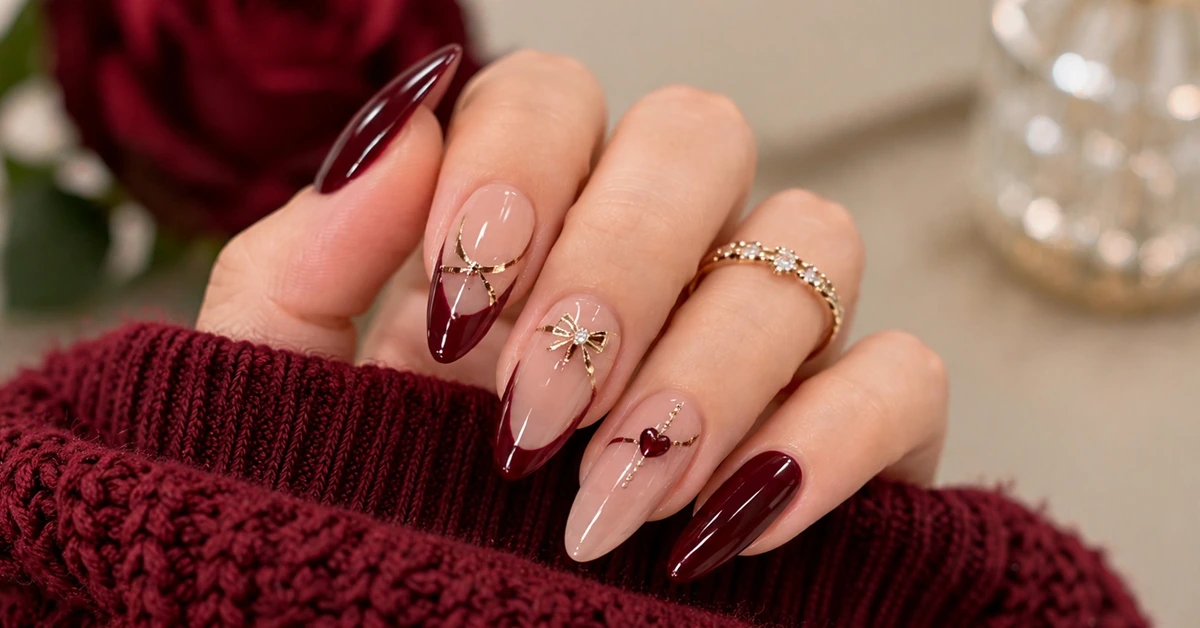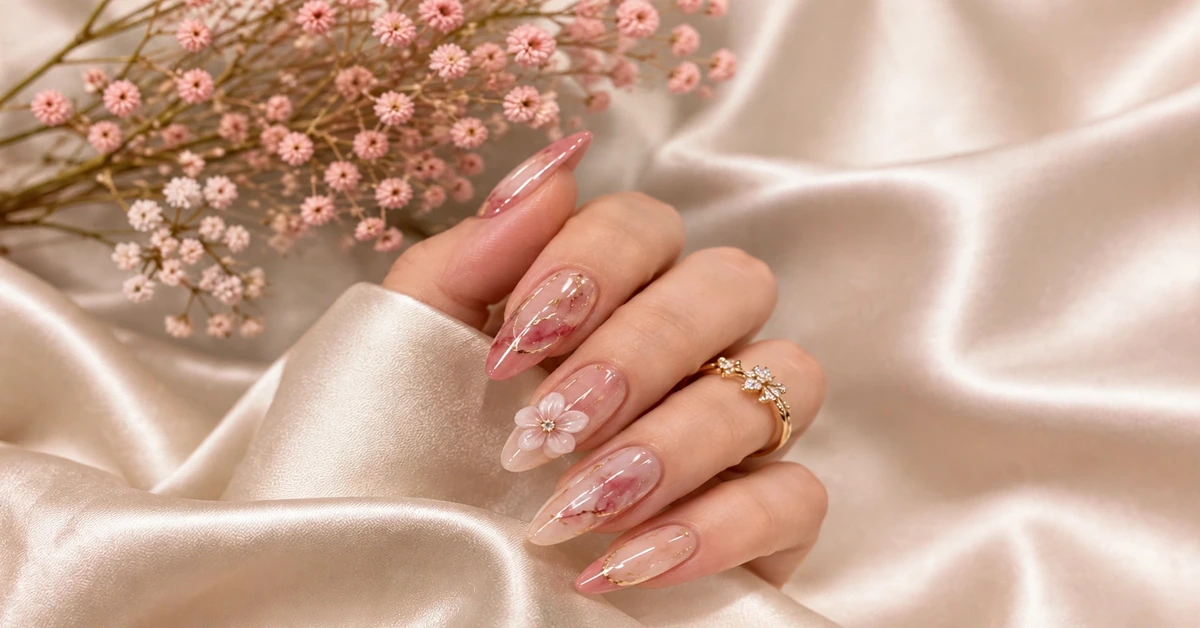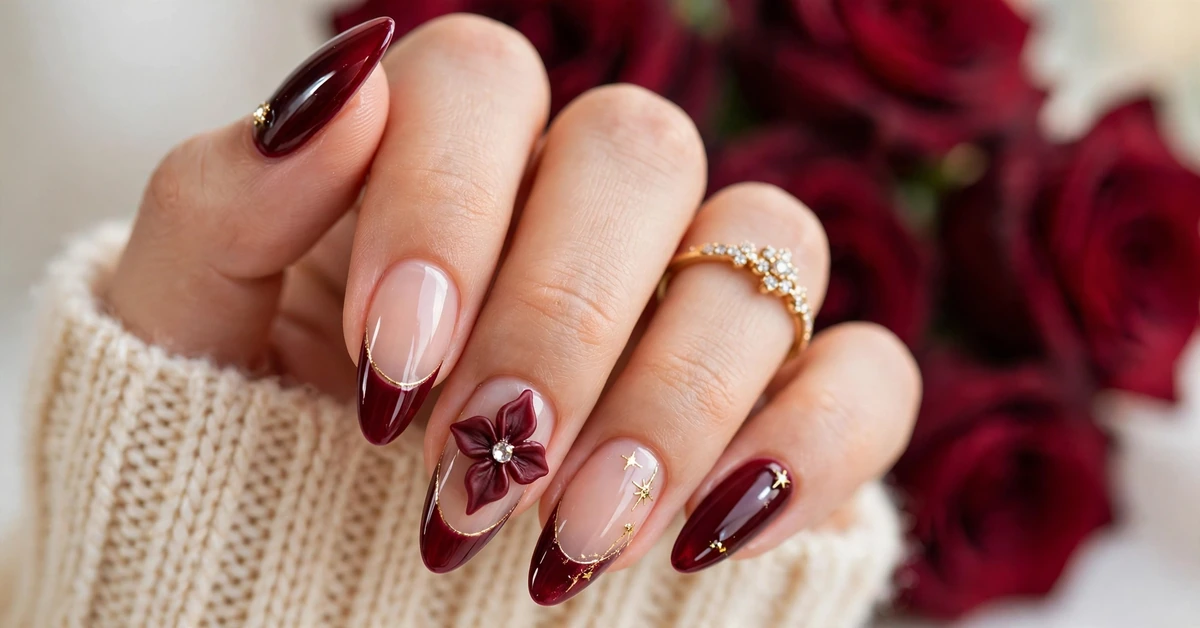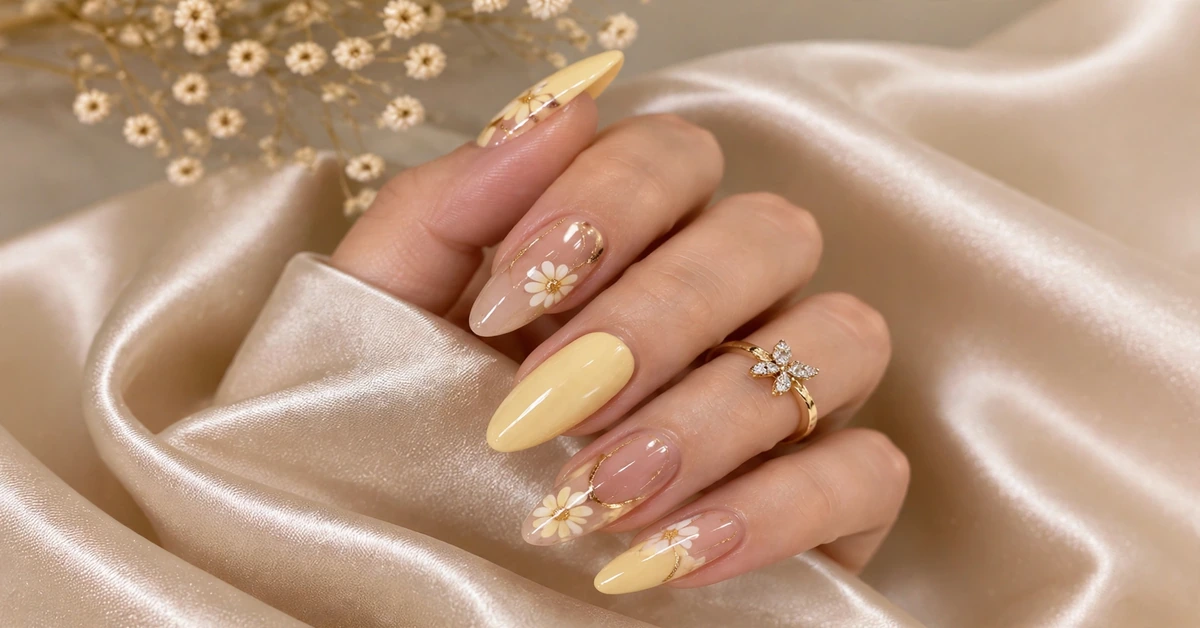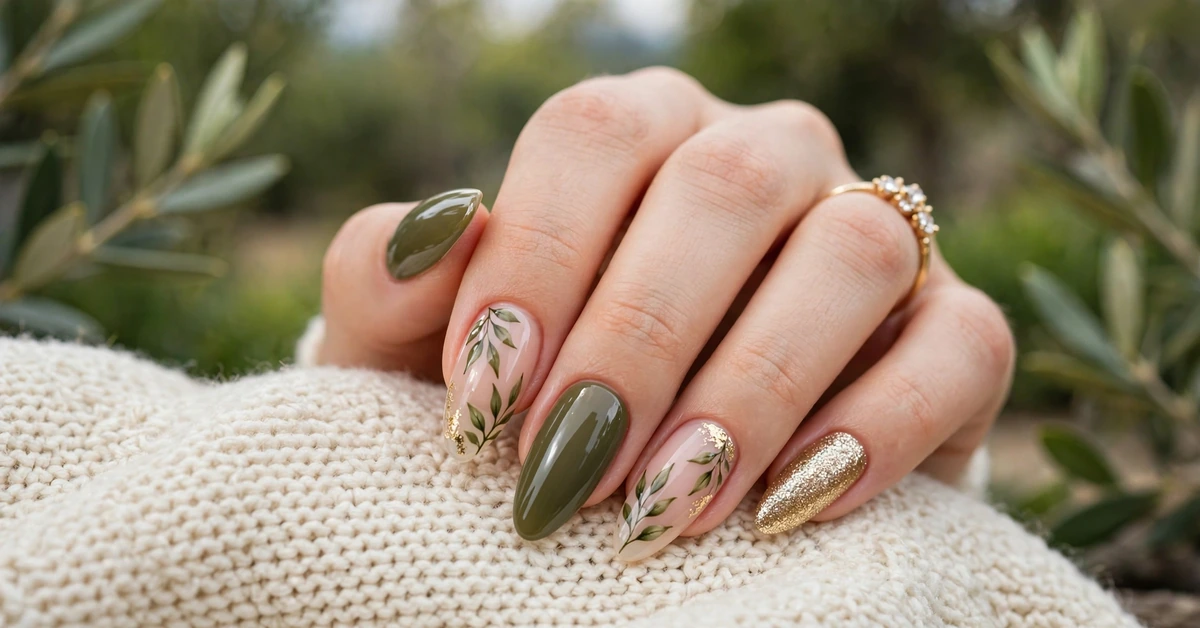
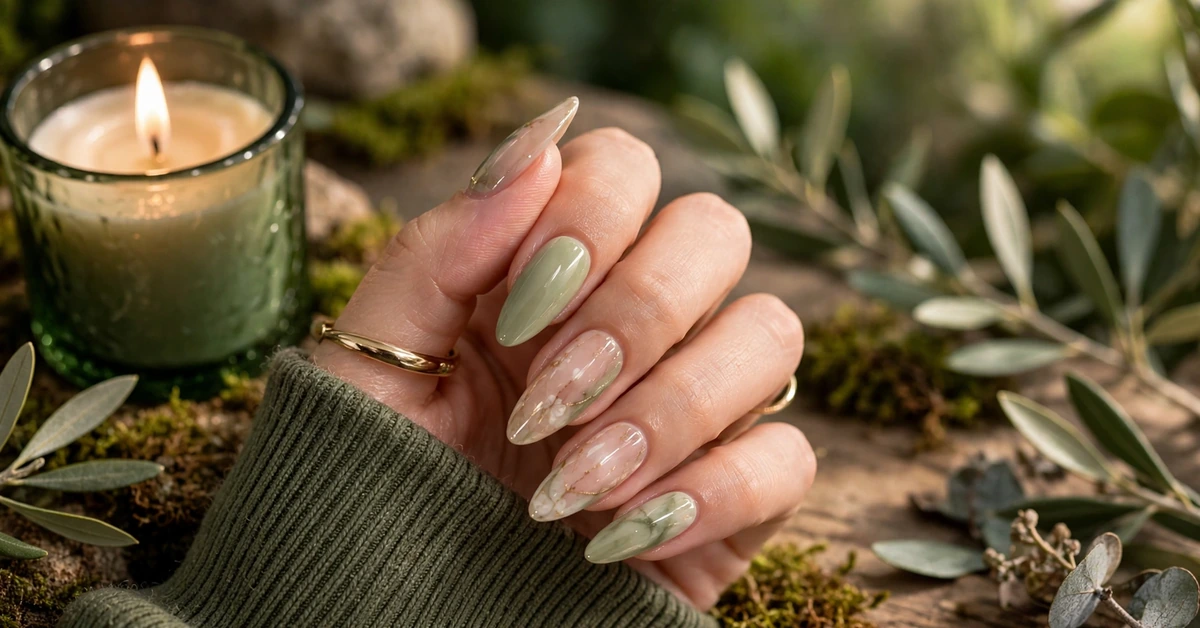
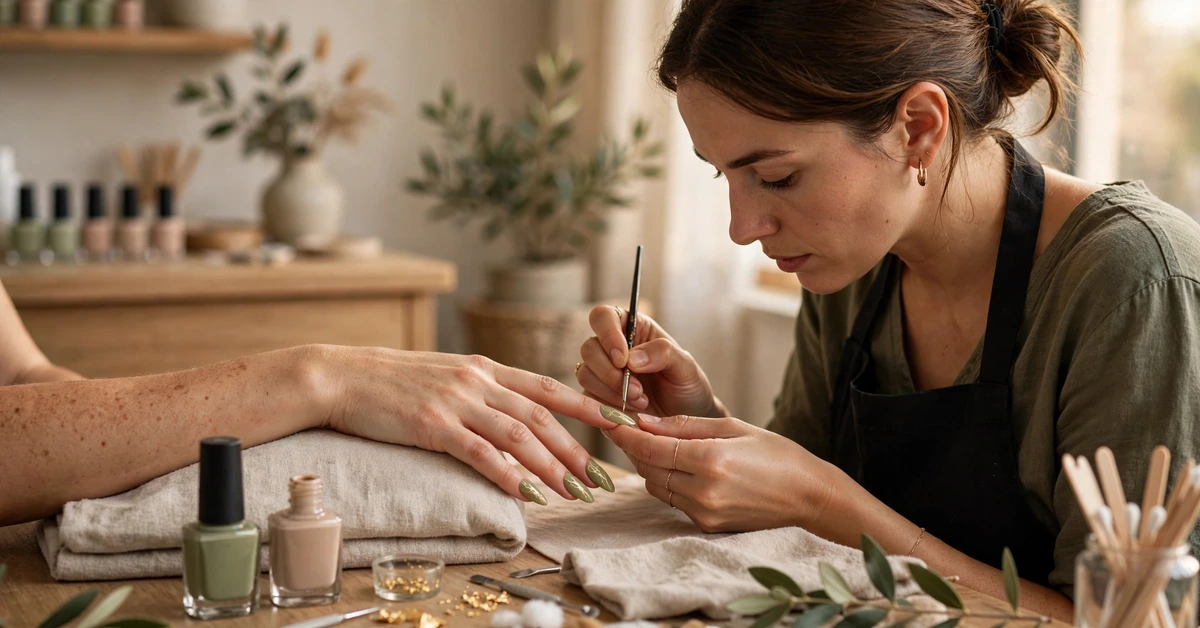
Sage green marble almond nails with gold details are the kind of manicure that stops people mid-conversation. They are soft enough for everyday wear, yet they carry a quiet luxury that makes them feel special every single time you glance at your hands. The look pairs solid sage green nails with sheer nude nails veined in sage marble and fine gold lines, all shaped into elegant almond tips with a high-gloss finish. It is earthy, refined, and endlessly wearable, which is exactly why it has become a favourite for autumn, weddings, and polished everyday style alike. This guide covers why the colour combination works, what to ask for at the salon, how to shape and care for almond nails, and how to recreate the marble effect at home, so your manicure looks expensive, feels comfortable, and lasts beautifully.
Table of Contents
- Why Sage Green Marble Works So Beautifully
- What to Ask Your Nail Tech
- Getting the Almond Shape Right
- DIY at Home: Step by Step
- Styling Your Manicure: Outfits and Occasions
- Making It Last: Care and Maintenance
- Variations to Try Next Time
Why Sage Green Marble Works So Beautifully
Sage green sits in a rare sweet spot: a muted, grey-green tone that reads as a neutral and pairs with almost everything, from cream knitwear and camel coats to denim and soft florals. Unlike bright green, sage never shouts; it whispers, and that restraint is precisely what makes it feel sophisticated. Combined with a sheer nude base, the effect becomes even softer, because the nude lets your natural nail show through and keeps the manicure light and airy.
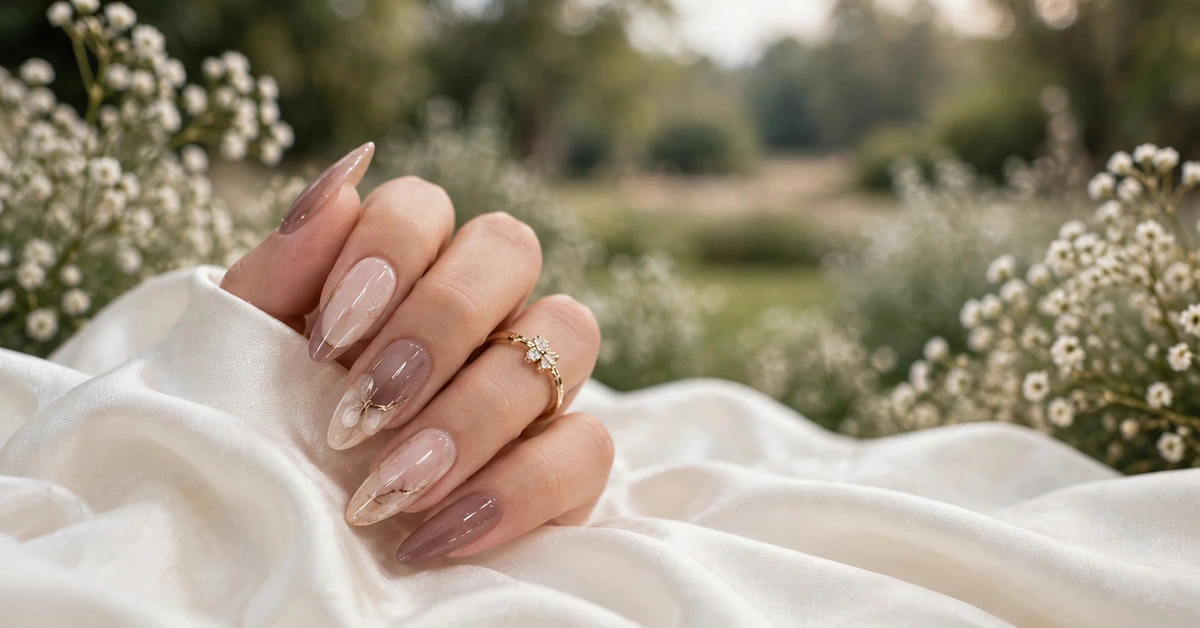
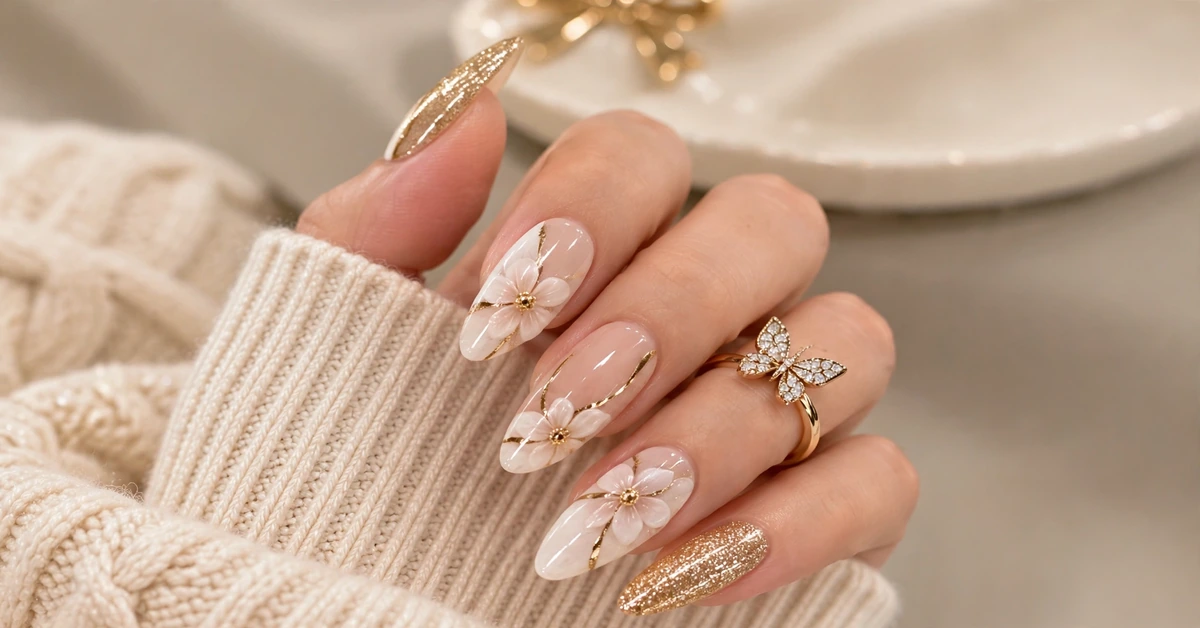
The marble element is what turns a pretty manicure into a memorable one. Real marble is full of soft, unpredictable veins, and that organic quality is what the nail version captures. On the accent nails, wisps of sage drift across a milky nude background, and thin gold lines trace through them like veins of precious metal. The gold is the finishing touch that lifts the design: it catches the light when you move your hands, adds warmth to the cool green, and gives the manicure a jewellery-like quality without needing any actual gems or studs.
Almond shaping ties the whole look together. The tapered, softly pointed tip lengthens the fingers and suits the flowing marble pattern, while a square tip would feel graphic and modern. If you want statement nails that still feel wearable to work, dinner, and weddings, this combination of sage, nude marble, gold, and almond shape is genuinely hard to beat.
What to Ask Your Nail Tech
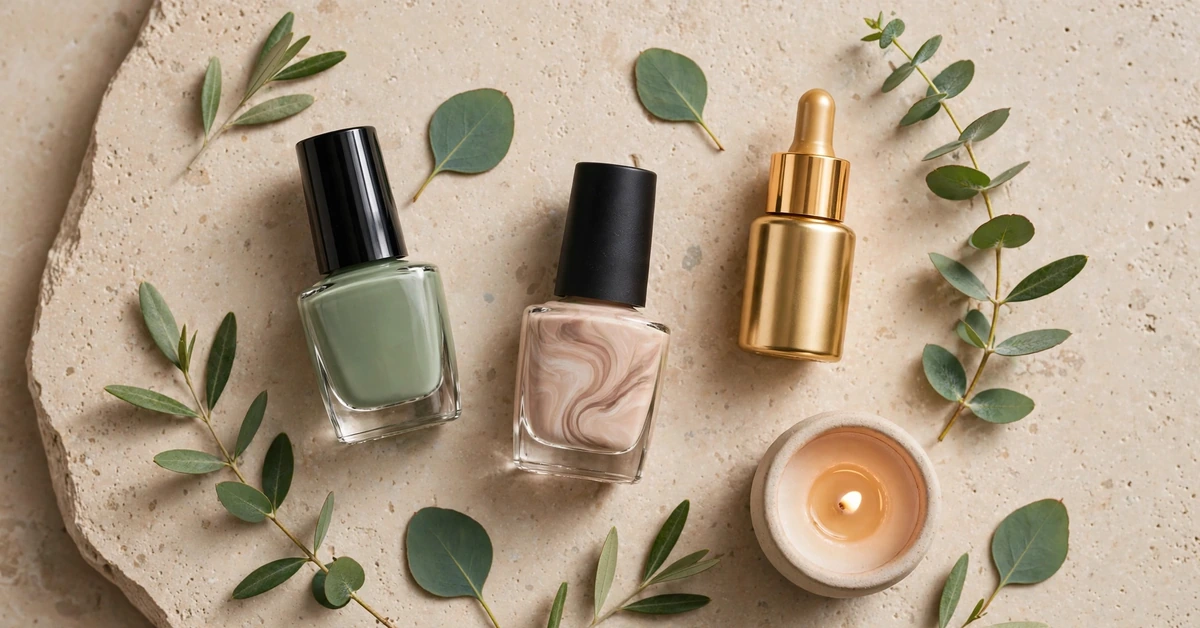
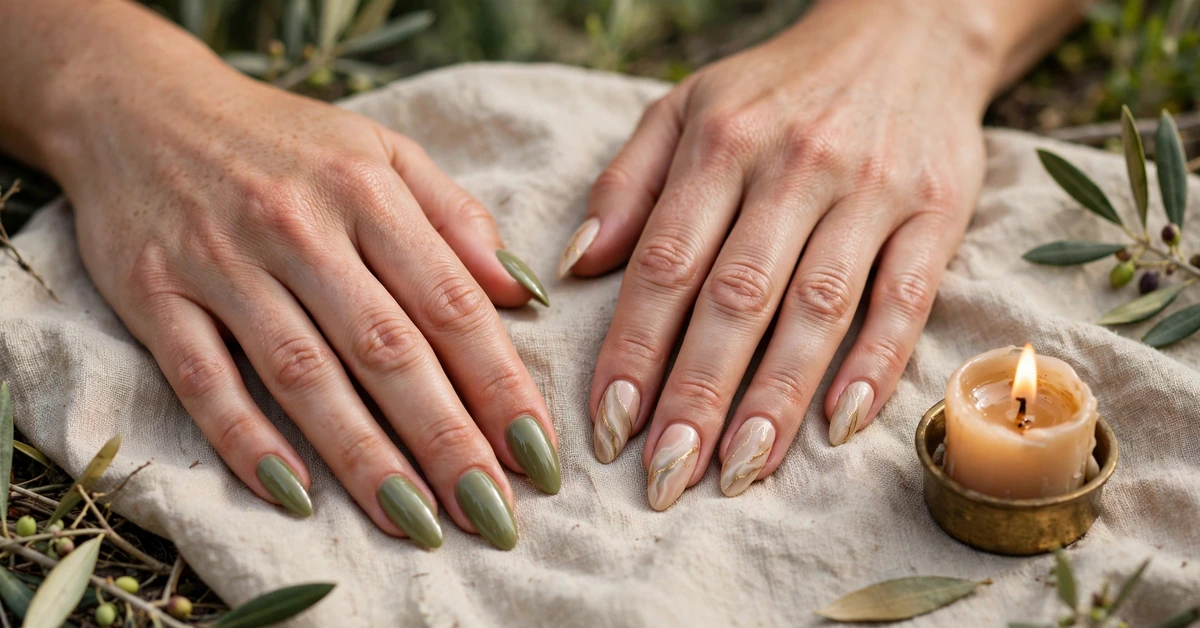
Walking into the salon with a clear request makes all the difference. Show your nail technician a reference photo, and name the three elements that matter most: the sage shade, the marble accent nails, and the gold veining. Ask for a muted sage rather than a mint or olive that leans too yellow, because the wrong undertone changes the whole mood. A good technician will hold a few bottles against your skin so you can compare before committing.
Next, talk about the layout of the design. The classic version alternates solid sage nails with marble accent nails, often placing the marble on the ring finger and middle finger, with solid sage on the rest. You can adjust this to suit your taste: some people prefer marble on just one accent nail per hand for a subtler effect, while others love marble on three nails for more drama. Decide in advance whether you want the gold to be delicate hairline veins or slightly bolder metallic strokes, and whether you want a glossy top coat or a soft matte finish over the top.
Finally, discuss length, product, and price before work begins. Almond nails need length to hold their tapered shape, so ask whether your natural nails are long enough or need extensions or builder gel for strength. Ask how long the appointment will take, since hand-painted marble is slower than plain colour, and confirm the nail art cost so there are no surprises. A short, honest conversation at the start helps your technician deliver exactly the manicure you pictured.
Getting the Almond Shape Right
The almond shape is flattering on almost every hand, but it only works when the shaping is balanced. The nail should taper gently from the widest point near the cuticle to a softly rounded point, like the shape of an almond nut. If the sides are filed too straight, the nail looks like a stiletto; if the tip is left too blunt, it reads as oval. The trick is patience: file in one direction, in small strokes, and check both hands side by side as you go so the lengths and angles match.
Length matters just as much as shape. For the sage marble design, a medium to long length shows the marble veining best, because there is enough nail surface for the pattern to flow. Very short nails can still wear a simplified version, with solid sage and one small marble accent, but the full veined effect needs room to breathe. If your nails break easily, consider a builder gel or structured manicure underneath the polish. This adds strength without bulk and gives the almond tip the support it needs to survive daily life.
Keep the cuticle area neat, because almond nails draw the eye along the whole finger. Gently push back cuticles after a warm soak, never cut them aggressively, and apply cuticle oil daily to keep the skin soft and the polish line clean. A tidy nail bed makes the sage colour look richer and the gold veining look sharper, and it is the small detail that separates a good manicure from a truly polished one.
DIY at Home: Step by Step
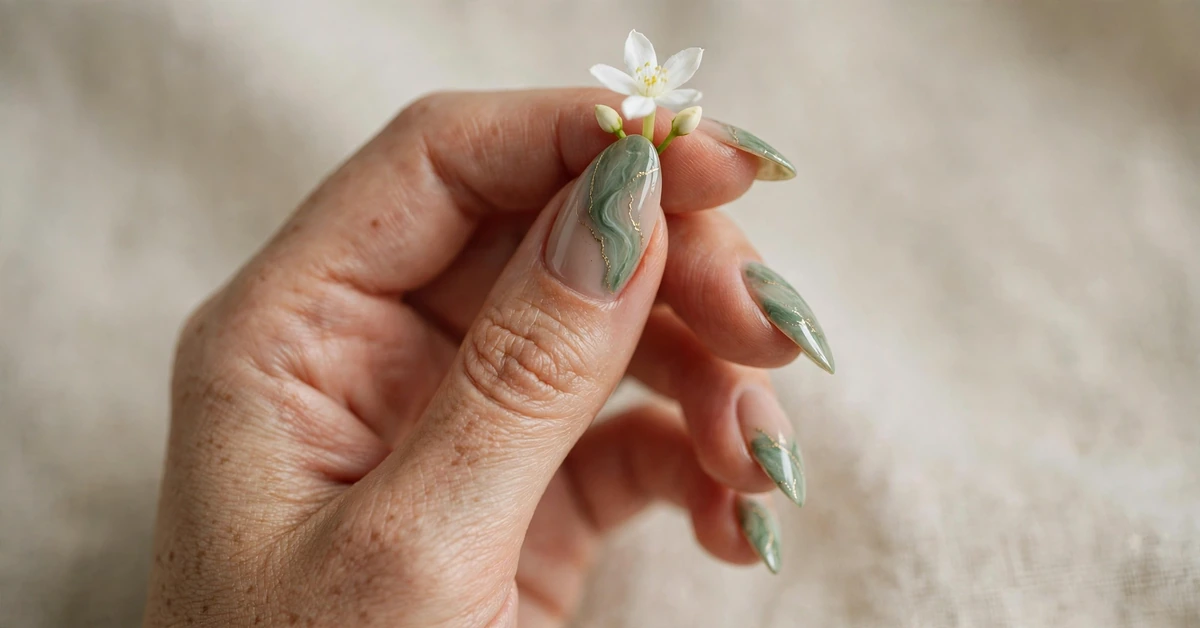
You can absolutely recreate sage marble nails at home, and the marble technique is more forgiving than it looks. Start with clean, shaped nails: remove old polish, file into an almond shape, push back cuticles, and apply a base coat. Paint the solid sage nails first, using two thin coats for even coverage, and let them dry fully. For the marble accent nails, apply one coat of sheer nude polish and let it become tacky but not completely dry, because slightly wet polish is what allows the marble veins to blend.
To create the marble, place a tiny drop of sage polish and a tiny drop of white or nude polish onto a foil palette. Dip a thin nail art brush or a toothpick into the sage, then drag it in soft, wavy lines across the nude nail, letting the colours swirl rather than forcing straight lines. Add a second, thinner line in gold polish or gold chrome pigment along some of the sage veins, but keep it sparse: one or two fine gold strokes per nail are enough. If a vein looks too heavy, blur it gently with a clean brush dipped in a little polish remover before it sets.
Seal everything with a glossy top coat, which melts the layers together and gives the marble its smooth, stone-like depth. Apply cuticle oil around each nail once the top coat is dry, and avoid hot water for the first few hours so the polish can harden fully. Your first attempt may not be perfect, and that is fine: real marble is irregular, so slight differences between nails actually make the design look more authentic. Practice on one accent nail first, and once you are confident, complete the full set.
Styling Your Manicure: Outfits and Occasions
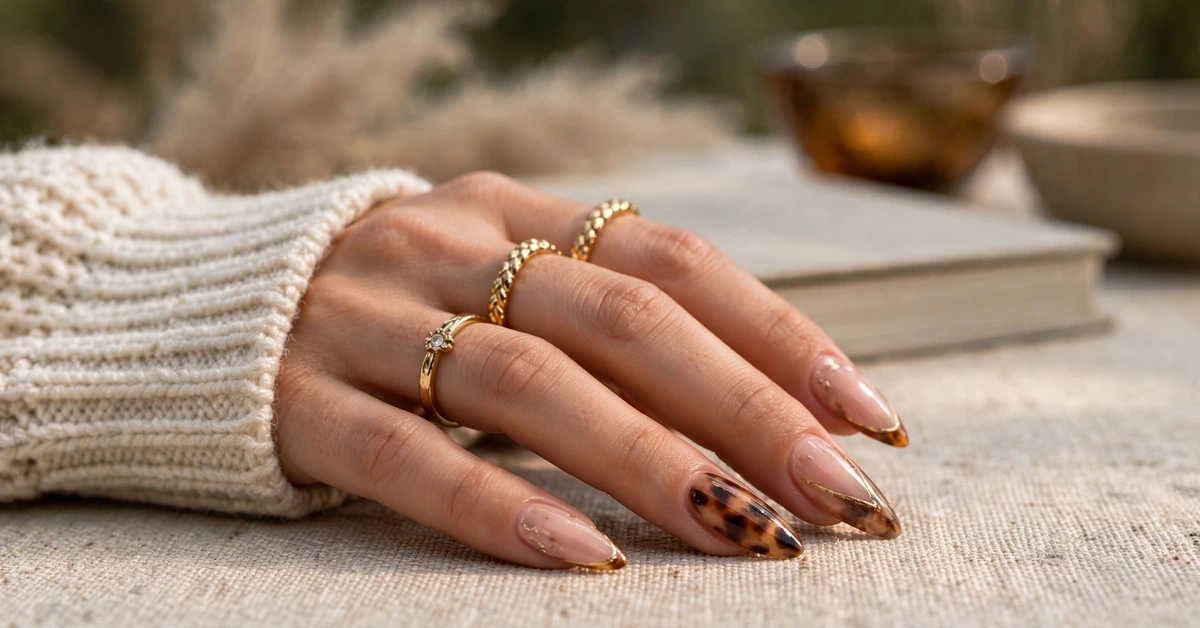
One of the best things about sage marble nails is how easily they slot into a real wardrobe. The muted green works beautifully with the cosy textures of autumn and winter: olive knitwear, cream chunky sweaters, camel coats, and soft beige scarves all echo the earthy palette of the manicure. Gold jewellery is the natural partner here, since it picks up the gold veining in the marble. A simple gold band, a delicate bracelet, or small gold hoops will make the whole look feel intentional without any extra effort.
For occasions, this manicure is remarkably versatile: understated enough for the office, yet special enough for weddings, dinners, and celebrations. Bridesmaids love it because it photographs beautifully and complements almost any dress colour, from sage and champagne to blush and navy. Pair it with satin or silk in a warm neutral, and let the nails tie your jewellery and outfit together.
Seasonally, sage marble shines brightest in autumn and spring, when nature is full of soft greens and fresh growth. In summer, it pairs nicely with white linen and gold sandals; in winter, it softens darker outfits and heavy coats. Because the design is not tied to one holiday or trend, you can wear it for weeks without it feeling dated, which makes it excellent value for a salon manicure.
Making It Last: Care and Maintenance
A beautiful manicure deserves a little daily care, and almond nails reward gentle habits. Wear gloves for washing dishes and cleaning, because hot water and detergents lift polish and weaken the nail tip fastest. When opening a tin or parcel, use a tool rather than your nails, since the tapered almond tip can snap if used as a lever.
Moisture is your best friend for longevity. Apply cuticle oil once or twice a day, massaging it into the cuticles and the skin around the nails, and follow with hand cream, especially in cold or dry weather. Well-hydrated nails flex instead of cracking, and the polish stays bonded to the nail surface for longer. If you notice a small chip, resist the urge to peel the polish, which can take layers of your natural nail with it. Instead, smooth the edge with a fine file and dab on a little matching polish and top coat as a temporary repair until your next appointment.
Plan maintenance around your lifestyle. A gel version typically lasts two to three weeks with good care, while regular polish lasts about a week before tip wear shows. Book your next appointment before the growth line becomes obvious, and give nails a short break between sets if they feel thin. A week of strengthener and cuticle oil keeps the nail plate healthy for your next set.

Variations to Try Next Time
Once you have worn the classic sage marble design, there are many beautiful ways to vary it. For a softer look, ask for the marble on a milky white base instead of nude, which makes the sage veins stand out more crisply and feels fresh for spring. For a bolder version, swap the solid sage nails for a deep forest green, keeping the marble accents light so the contrast stays elegant. A matte top coat over the whole manicure is another easy twist: it turns the glossy marble into something velvety and modern.
You can also play with the placement of the gold. Instead of veins through the marble, try a thin gold French tip on the solid sage nails, or a single gold foil flake pressed into one accent nail. A tiny dried flower or leaf decal nods to the botanical side of sage green, and a fine gold glitter gradient at the cuticle adds celebration without overwhelming the soft palette.
Finally, consider shape and length variations that keep the design feeling new. A shorter, rounded almond version is practical for busy hands and still shows the marble beautifully, while an extra-long set makes a dramatic statement for special occasions. Whatever you choose, keep the core balance: soft sage, airy nude, fine gold, and a graceful almond tip.