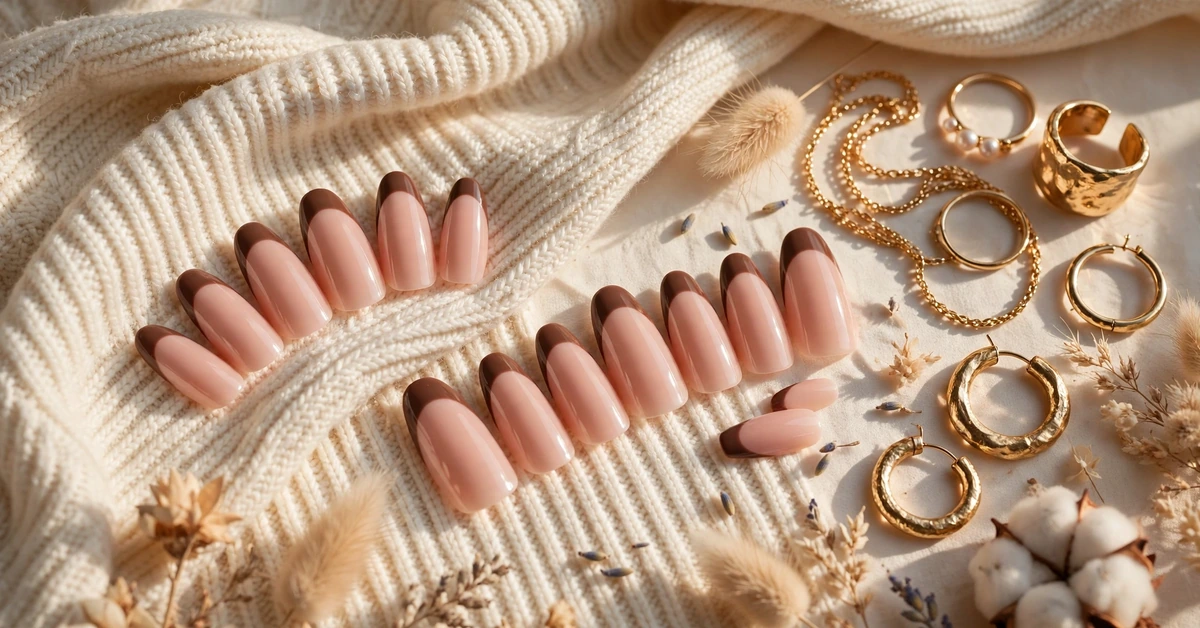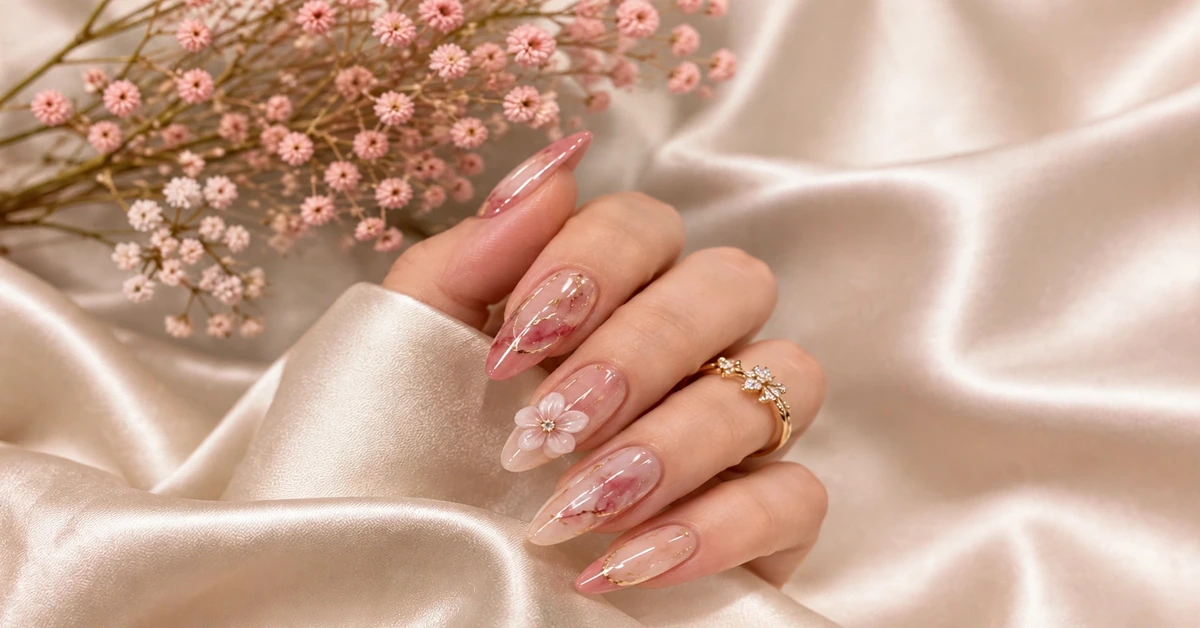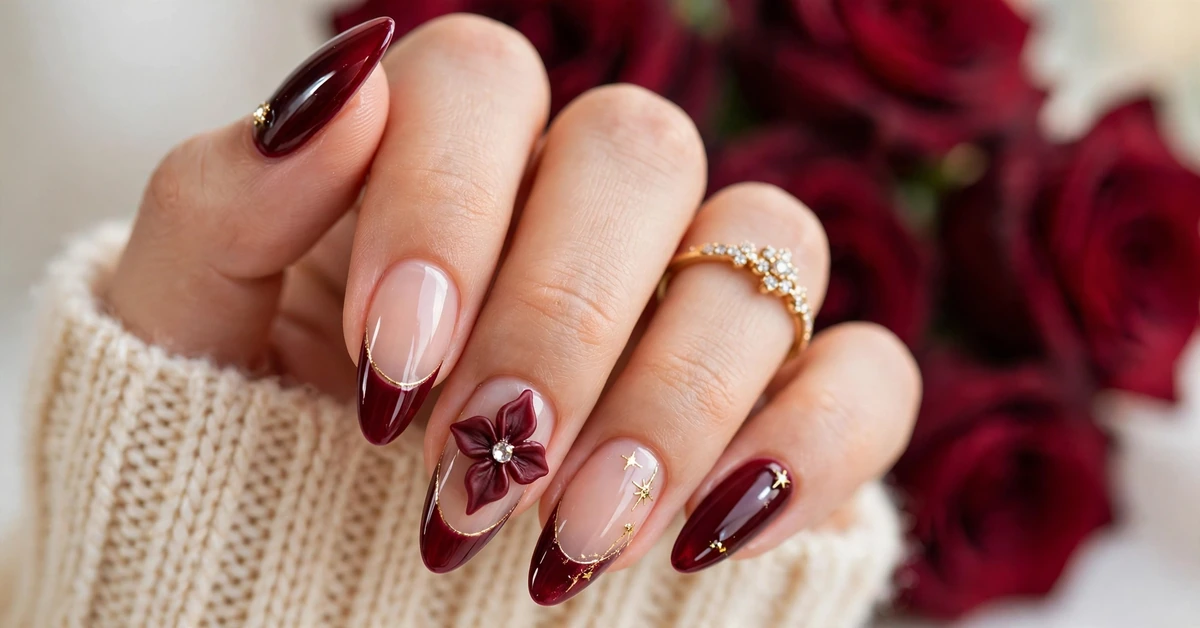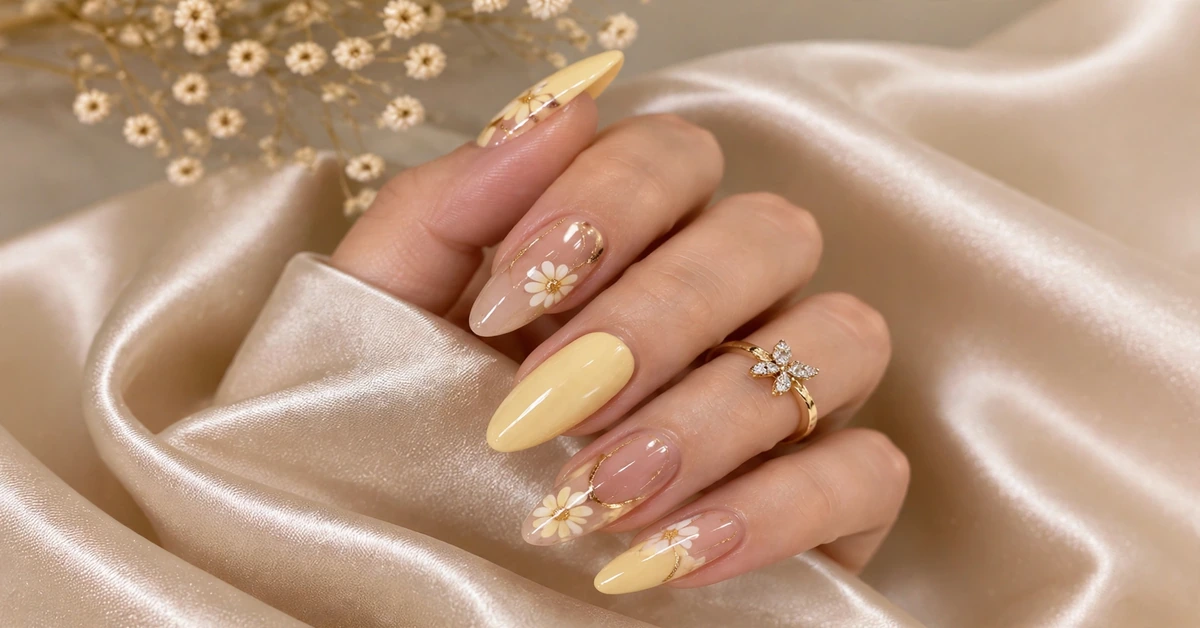
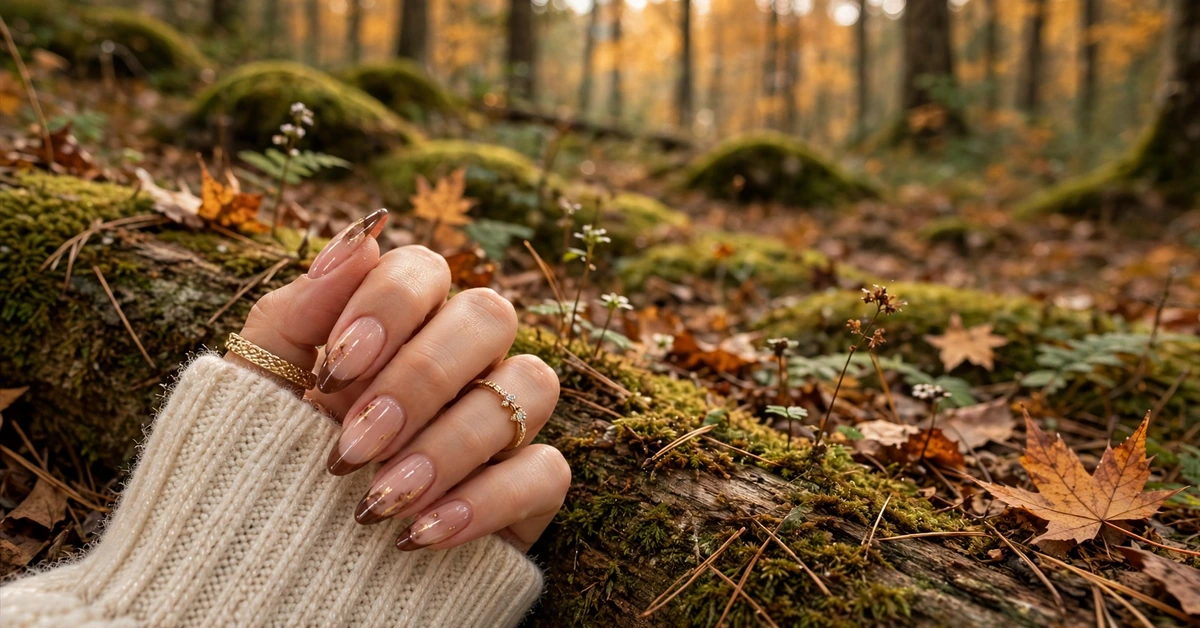
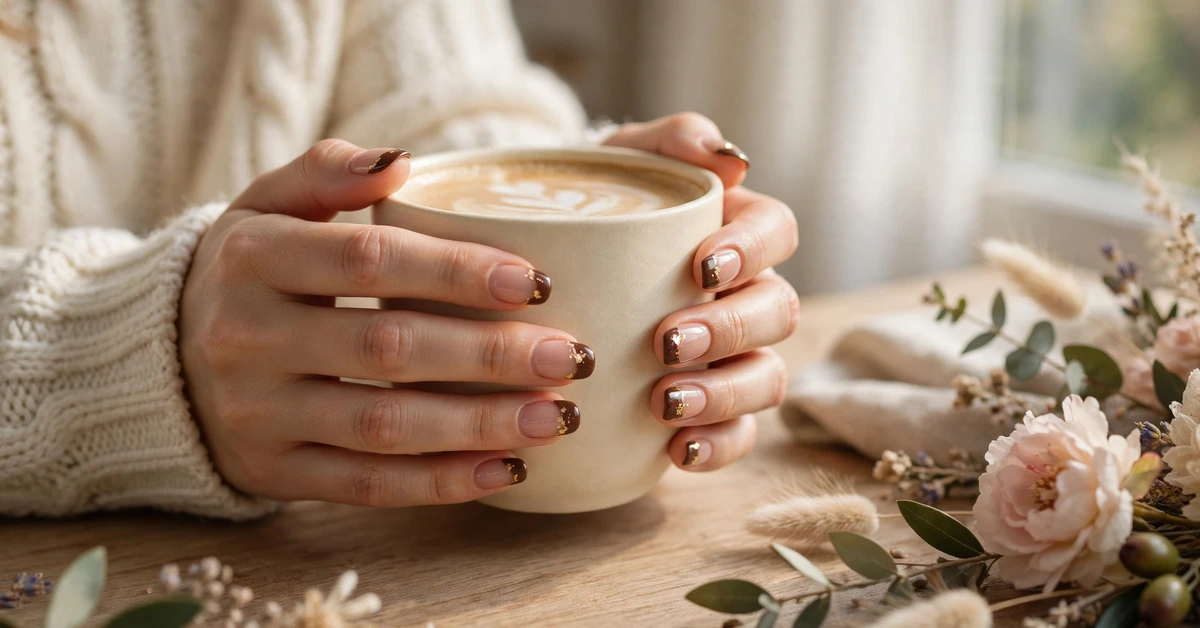
There is a quiet kind of glamour in chocolate brown French tip almond nails. They take the most classic manicure of all time — the French tip — and warm it up with a rich, cocoa shade, then scatter it with the tiniest flecks of gold. The result is soft, expensive-looking, and endlessly wearable. A nude-pink base keeps the nails looking natural and healthy, the brown tips add depth and polish, and the gold flakes catch the light like jewellery. Whether you wear them to the office, a dinner, or a wedding, these nails always look intentional. In this guide, we explore why this design works so well, how to get it, and how to keep it looking flawless.
Table of Contents
- Why Chocolate French Tips Feel So Expensive
- The Look: Nude Pink, Brown Tips, and Gold Flakes
- The Almond Shape and Why It Flatters Every Hand
- How to Ask Your Nail Tech for This Design
- DIY Chocolate Brown French Tip Almond Nails
- Styling Chocolate and Gold Nails
- Keeping Your French Tips Chip-Free
Why Chocolate French Tips Feel So Expensive
Classic white French tips are beautiful, but they can sometimes feel a little stark, especially in the colder months. Chocolate brown changes the whole mood. It is softer than black, richer than beige, and warm in a way that flatters every skin tone. Brown is also the colour of quiet luxury right now — think chocolate leather bags, espresso-toned coats, and cocoa knitwear. A chocolate French tip borrows that same feeling and puts it on your nails, so the manicure feels connected to the rest of your wardrobe rather than separate from it.
The gold flakes are what turn a pretty manicure into a luxurious one. Unlike chunky glitter, gold flakes are thin, irregular pieces of metallic leaf that sit on the nail like tiny flecks of jewellery. They catch the light as you move, but they never look loud or childish. Placed near the tip or scattered lightly over the nude base, they add dimension and a hand-crafted feel. Together, chocolate and gold create one of the most timeless colour pairings in beauty — warm, rich, and quietly confident, the nail equivalent of a perfectly tailored coat.
The Look: Nude Pink, Brown Tips, and Gold Flakes
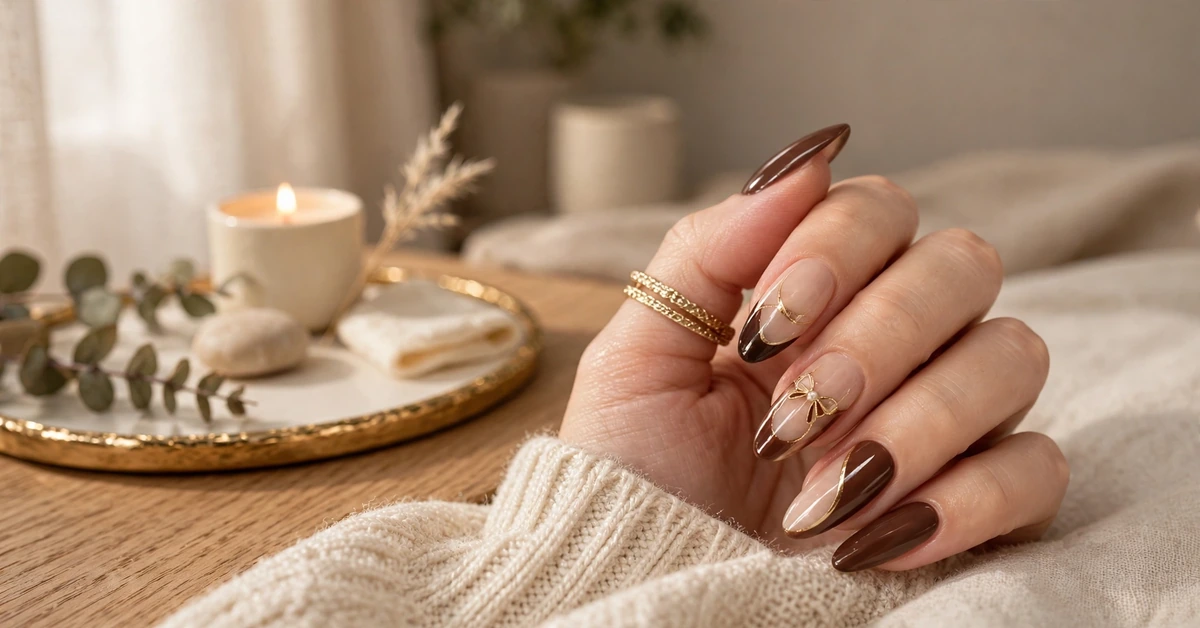
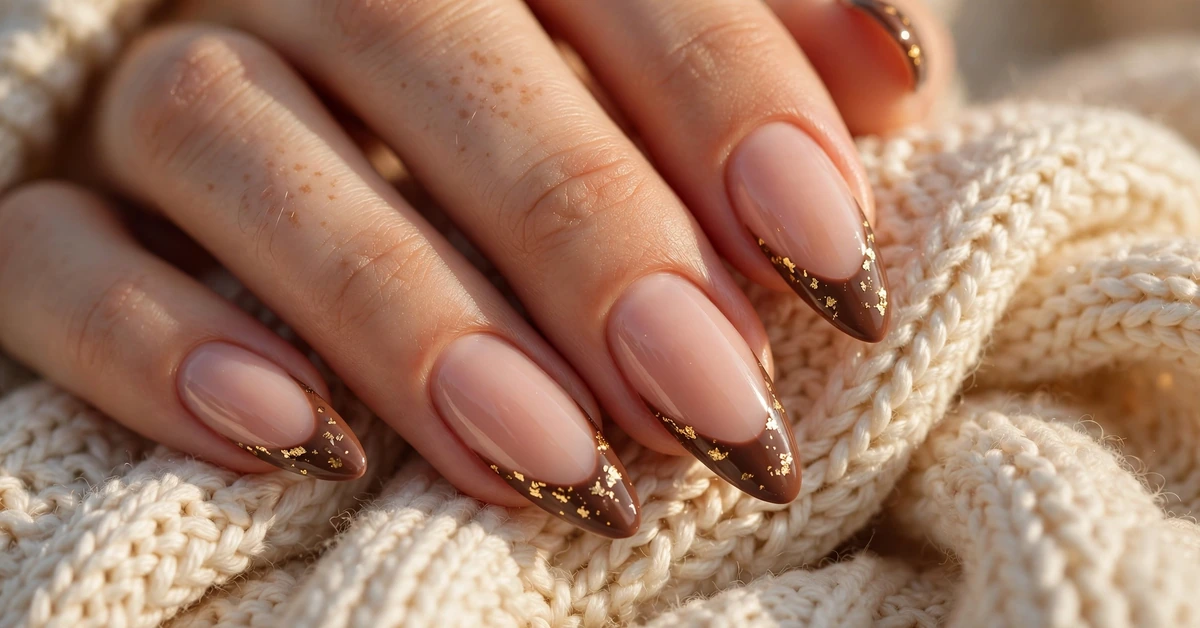
The foundation of this design is a sheer nude-pink base that enhances your natural nail colour rather than covering it. It should look like your nails, only better — healthy, even, and softly pink. Over that base, the tips are painted in a deep chocolate brown, following the natural curve of the almond shape so the tip line is soft and smile-shaped rather than a harsh straight edge. On almond nails, the tip area is slightly narrower than on square nails, which makes the brown look elegant rather than heavy.
Gold flakes are then placed sparingly, usually near the smile line or drifting down from the tip onto the nude base. The key word is sparingly: a few well-placed flakes per nail look expensive, while a dense layer of gold can overwhelm the softness of the design. A thick, glossy top coat seals everything, smooths the edges of the flakes, and gives the whole manicure a glass-like shine. The finished look is gentle from a distance and fascinating up close — exactly what a great manicure should be.
The Almond Shape and Why It Flatters Every Hand
Almond nails are beloved because they make fingers look longer and more graceful. The shape tapers from the sides to a soft, rounded point, which draws the eye along the length of the finger. For a French tip design, this matters even more: the tapered tip gives the brown polish a beautiful curved canvas, and the smile line follows the natural shape of the nail instead of fighting it. The result is a tip that looks custom-made for your hand.
If you are new to almond nails, a medium length is the perfect starting point. It is long enough to show off the tip and the gold flakes, but short enough for everyday life — typing, cooking, and getting dressed without worry. Your nail tech can shape natural nails into a soft almond, or build the shape with gel extensions if your nails are short or brittle. Whichever route you choose, symmetry is everything: both sides of each nail should taper evenly, and all ten nails should share the same gentle point. A well-shaped almond nail elevates even the simplest polish, and with chocolate tips and gold, it looks truly special.
How to Ask Your Nail Tech for This Design
Clear communication makes the salon visit easy. Start by asking for a medium almond shape, then describe the design in this order: a sheer nude-pink base, deep chocolate brown French tips, and a light scattering of gold flakes near the tips. Bring a reference photo if you can — it removes all guesswork about how deep the brown should be and how much gold you want. Chocolate browns vary a lot, from warm milk chocolate to almost-black espresso, so agreeing on the shade before painting begins saves time and disappointment.
Also mention the finish you want: a high-gloss top coat is essential, because it seals the gold flakes flat and gives the brown tips their rich, polished depth. If you prefer gel polish, ask whether the gold flakes will be encapsulated between layers of gel — this protects them completely and makes the manicure last for weeks. If you choose regular polish, the flakes sit on top of the colour and are sealed with top coat, which looks just as beautiful but needs slightly gentler care. Either way, leave the salon with cuticle oil applied, and your nails will look like they belong in a jewellery box.
DIY Chocolate Brown French Tip Almond Nails
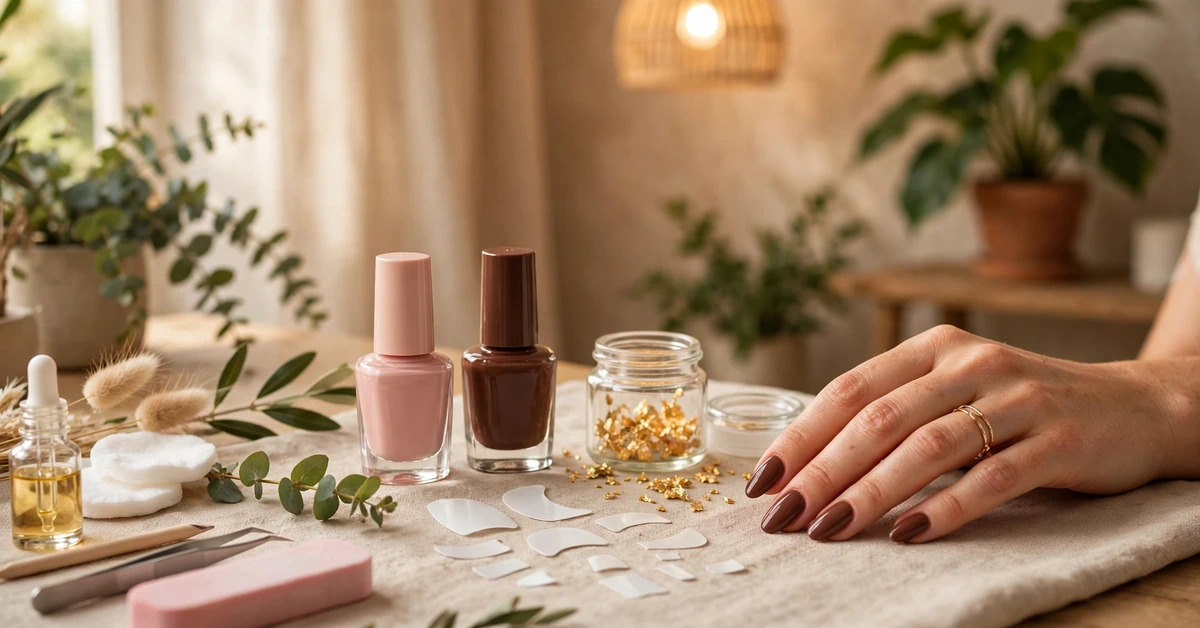
Doing this design at home takes patience, but the steps are simple. First, file your nails into a soft almond shape, working from the sides toward the centre, and gently push back your cuticles. Apply a base coat, then two thin coats of a sheer nude-pink polish, letting each coat dry completely. The base should look natural and even — if your nude polish is very sheer, a third thin coat is fine.
For the tips, the easiest method is to use French tip guides or a steady hand with a fine brush. Paint the chocolate brown across the tip of each nail, following its natural curve, and keep the tip depth consistent from nail to nail — roughly the top quarter of the nail. While the brown is still slightly tacky, place tiny gold flakes near the smile line with tweezers or a wax pencil, pressing them gently into place. A few flakes per nail is plenty. Finish with two coats of glossy top coat: the first seals the flakes, the second gives that glass-like shine. Clean up any edges with a small brush dipped in remover, add cuticle oil, and admire a salon-worthy result.
Styling Chocolate and Gold Nails
Chocolate brown and gold nails are a dream to style because they match the warm neutrals most of us already wear. Cream knitwear is the perfect partner — the softness of a cream sweater makes the brown tips stand out beautifully, and gold jewellery ties the whole look together. Camel coats, beige trousers, tan leather bags, and brown boots all sit in the same warm family, so the manicure never clashes. In fact, chocolate French tips often look better with your everyday wardrobe than white ones do, because the brown echoes the colours of leather, wood, and wool around you.
For special occasions, these nails pair gorgeously with satin, silk, and velvet, where the gold flakes catch candlelight and evening light. They also work beautifully with deep jewel tones like forest green, burgundy, and navy, because the brown acts as a warm anchor. Keep your rings simple and gold-toned to echo the flakes — a thin band or two is all you need. The overall effect is polished, grown-up, and quietly glamorous, the kind of manicure that makes a simple outfit feel complete.
Keeping Your French Tips Chip-Free
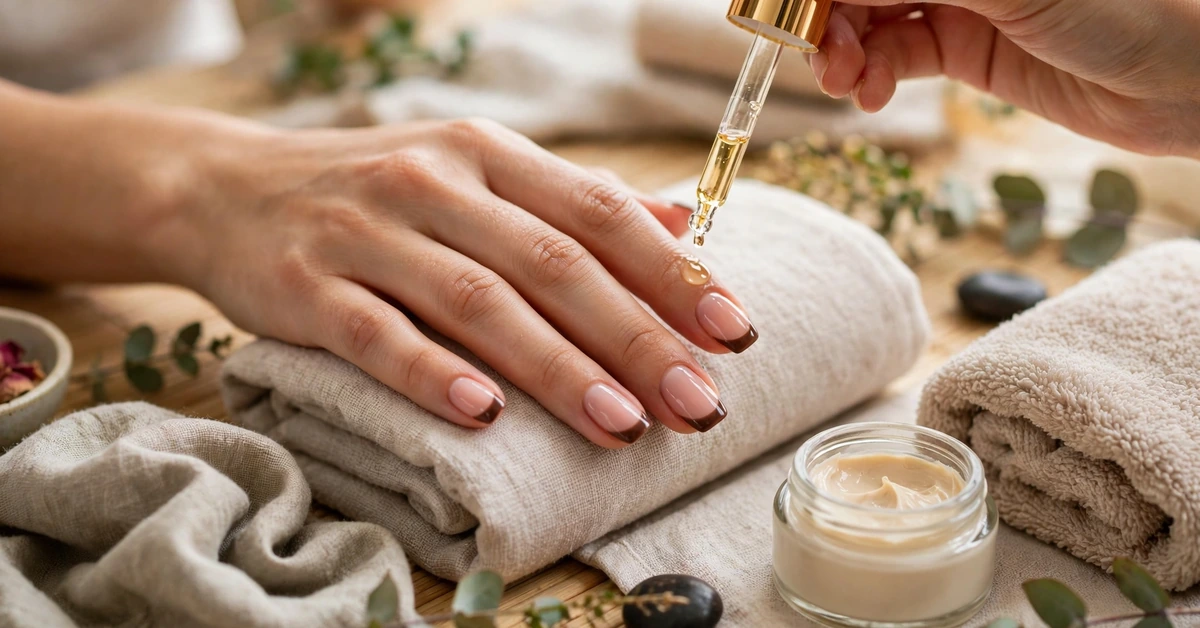
French tips show wear first at the very edge of the nail, so a little care goes a long way. Always wear gloves for dishes and cleaning, and avoid using your nails to open packages or scrape surfaces. Apply cuticle oil daily to keep the polish flexible, and reapply a thin top coat every two to three days, wrapping it slightly over the free edge of the nail — this “seals” the tip and dramatically slows chipping.
If a tip does chip, it is easy to fix: dab a little chocolate polish onto the chipped area with a fine brush, let it dry, and seal with top coat. Because the design is soft and the gold flakes are irregular, small repairs blend in invisibly. With gel polish, expect two to three weeks of wear; with regular polish, a careful week to ten days is realistic. Either way, chocolate French tip almond nails reward gentle care with a manicure that looks expensive from the first day to the last.