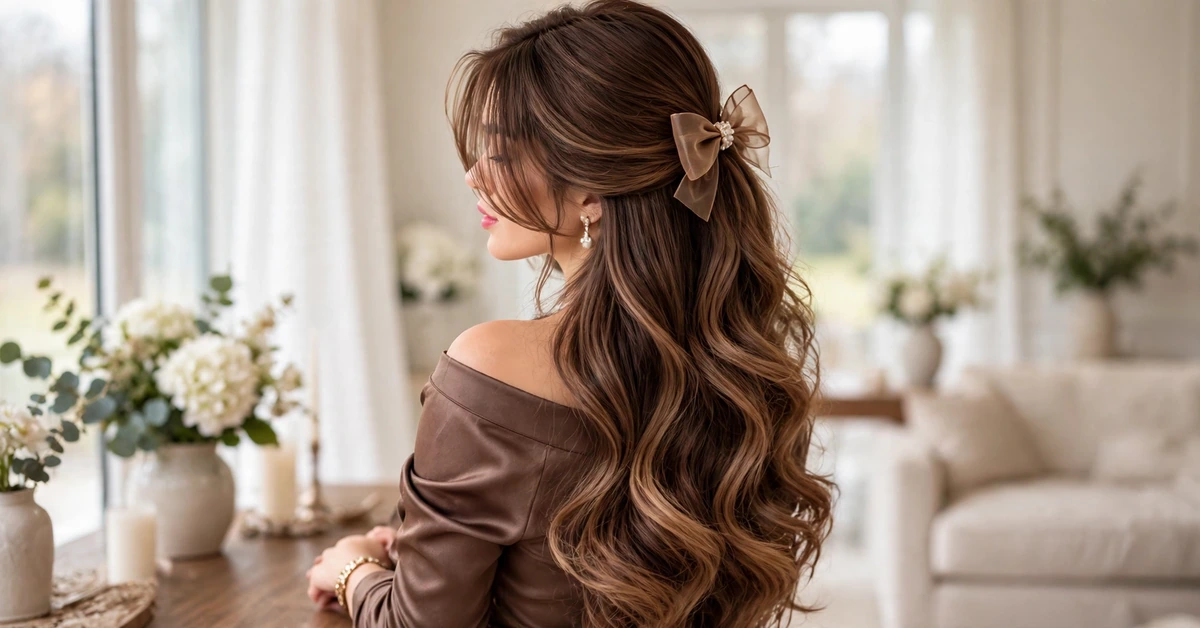
Mocha balayage hair with long soft waves is the kind of colour that looks expensive without ever looking overdone. Rich mocha brown melts into soft caramel ribbons, the waves fall loose and touchable, and a half-up style with a sheer brown bow adds a romantic finishing touch. It is dimensional, natural-looking, and flattering on a wide range of skin tones, which is why it has become one of the most requested brunette colours in salons. This guide explains what mocha balayage really is, who it suits best, exactly what to ask your colourist, how to style the waves at home, how to recreate the half-up bow look, and how to keep the colour rich between appointments. Whether you are booking your first balayage or refreshing a colour you already love, you will leave with a clear plan and realistic expectations.
Table of Contents
- What Is Mocha Balayage?
- Is It Right for You?
- What to Ask Your Colourist
- Styling Soft Waves at Home
- The Half-Up Bow Style
- Care and Maintenance
- Growing Out and Refreshing the Colour
What Is Mocha Balayage?
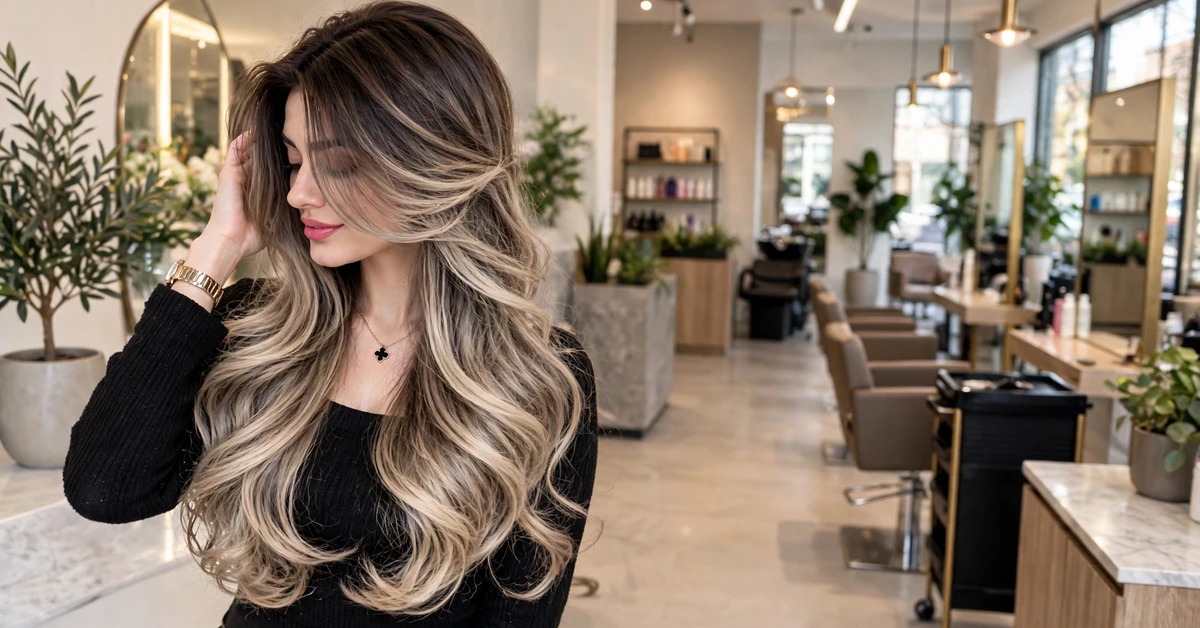
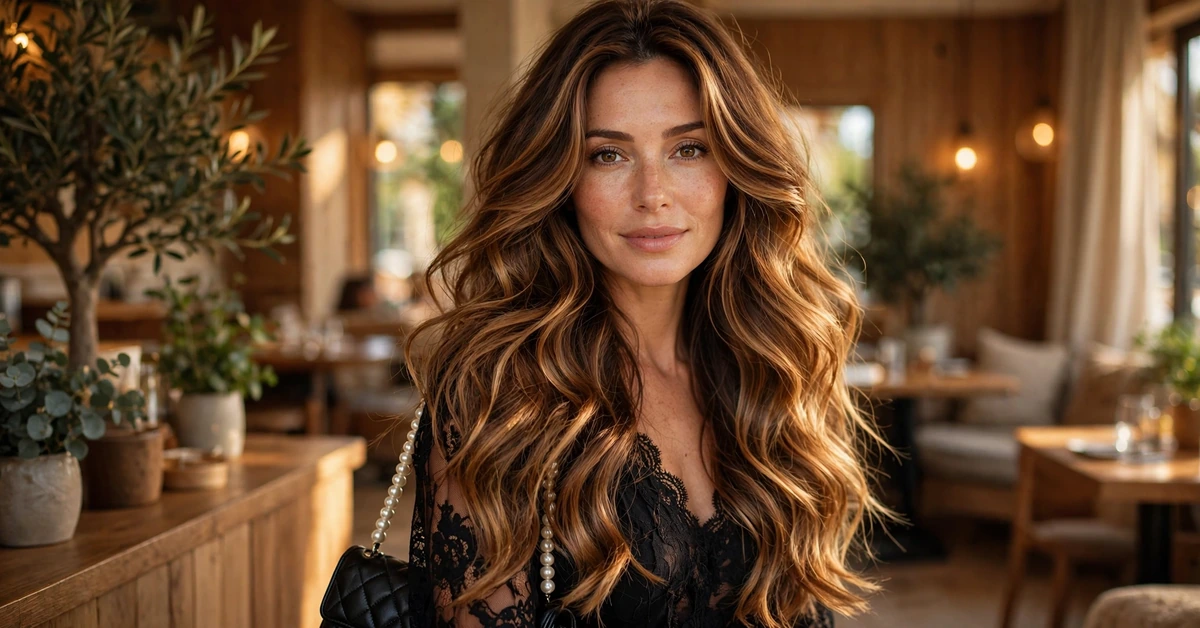
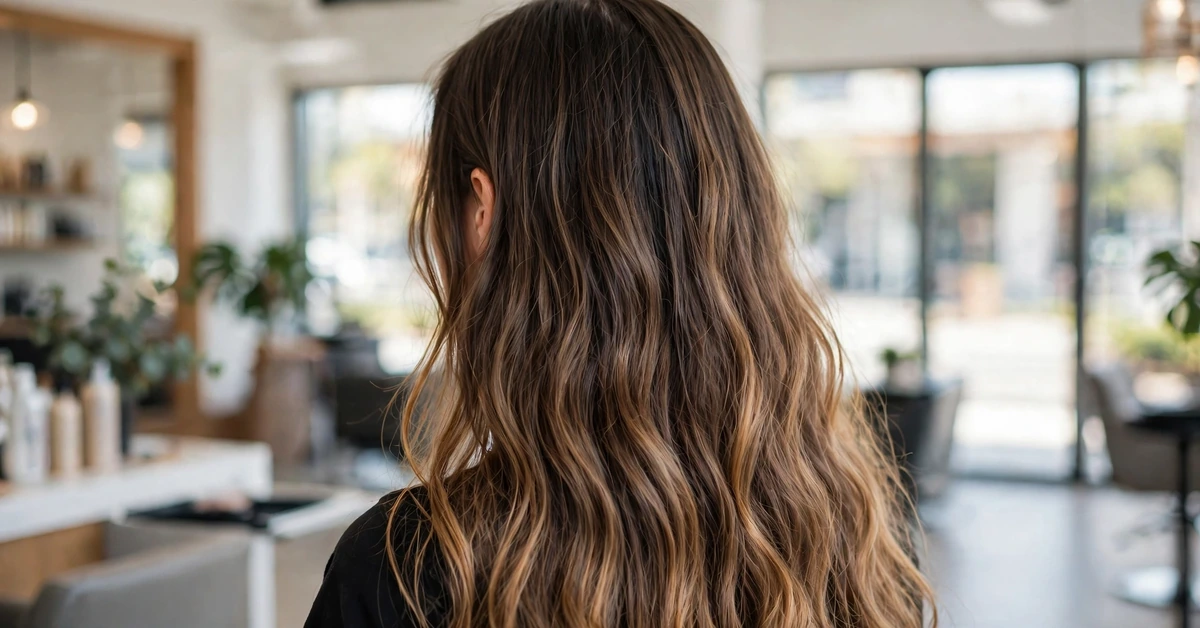
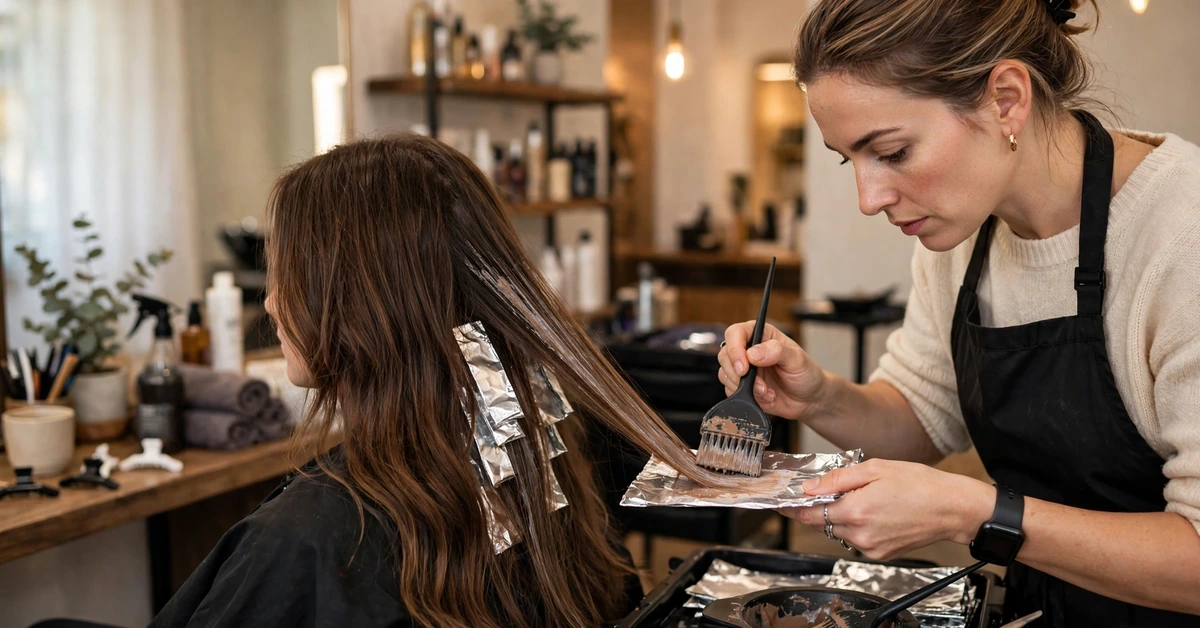
Balayage is a freehand colouring technique in which the colourist paints highlights directly onto the hair, rather than weaving sections through foils from the root. The result is a soft, graduated blend with no harsh line where the colour starts, much like the way hair lightens naturally in the sun. Mocha balayage uses a palette of cool-to-neutral browns: a deep mocha base with ribbons of lighter mocha and soft caramel woven through the mid-lengths and ends.
The mocha part of the name matters. Unlike golden or honey balayage, which leans warm, mocha stays in the rich coffee-brown family, with just enough warmth to look luminous rather than flat. The caramel pieces are placed sparingly, usually framing the face and through the ends, so the overall effect is depth and movement rather than obvious stripes. In long hair, this creates a beautiful cascade effect: darker at the crown, gradually lighter and more luminous toward the tips.
Soft waves are the perfect partner for this colour because they show off the dimension. Straight hair can hide the blend, while tight curls can break it up, but loose waves let each ribbon of colour catch the light as the hair moves. That is why the classic mocha balayage look pairs the colour with long, brushed-out waves: the style and the colour are designed to show each other off.
Is It Right for You?
Mocha balayage suits most people with naturally brown hair, from light brown to dark brown, because the colourist can adjust the depth of the mocha and the lightness of the caramel to match your starting point. If your hair is very dark, near-black, the caramel pieces will be subtler and may need more than one session to reach the desired lightness without damage. If your hair is light brown, the mocha base can be kept close to your natural colour, with the balayage adding gentle dimension rather than a dramatic change.
Skin tone is another useful guide, though not a strict rule. Mocha’s neutral-cool character flatters warm, neutral, and cool undertones alike, because it does not push too far in either direction. If you have warm undertones, ask for caramel pieces with a touch of honey to keep the look harmonious. If you have cool undertones, a slightly ashier mocha will keep the colour from pulling orange as it fades. Bringing photos of looks you love, including ones on people with similar colouring, helps your colourist calibrate the tones.
Length and texture matter too. This look truly shines on long hair, where there is enough length for the gradient to develop gradually, but it also works beautifully on medium lengths, especially with face-framing layers. Very fine hair can still wear balayage well, though the colourist may use finer, more delicate ribbons so the hair does not look over-processed. If your hair is damaged or heavily bleached already, be honest about its history so your colourist can protect its health first.
What to Ask Your Colourist
A successful balayage appointment starts with a clear consultation, so arrive with reference photos and a realistic description of your hair history. Tell your colourist your natural colour, any previous dye or bleach, and how often you heat-style or swim, because all of these affect how the colour will lift and fade. Show photos of the exact mocha tone you want, not just the wave style, and point out whether you prefer a subtle blend or a more visible caramel contrast.
Ask about the technique and the time involved. A full-head balayage on long hair can take two to four hours including toning and styling, so confirm the appointment length and the total price before the colour is mixed. Ask whether the colourist will use a toner after lightening, which is essential for achieving that smooth mocha shade rather than raw brassy blonde, and ask what developer strength they plan to use on your hair type. These questions signal that you care about hair health, and a good colourist will welcome them.
Finally, discuss the cut that goes with the colour. Long, soft waves need layers to move properly: ask for long layers through the mid-lengths and soft face-framing pieces that start around the cheekbone or jaw, which open up the face and show off the lighter ribbons. Agree on how much length you are willing to lose to a trim, and ask your colourist to show you how they will style the waves so you can recreate the finish at home. Leaving with both colour and styling knowledge makes the appointment far better value.
Styling Soft Waves at Home
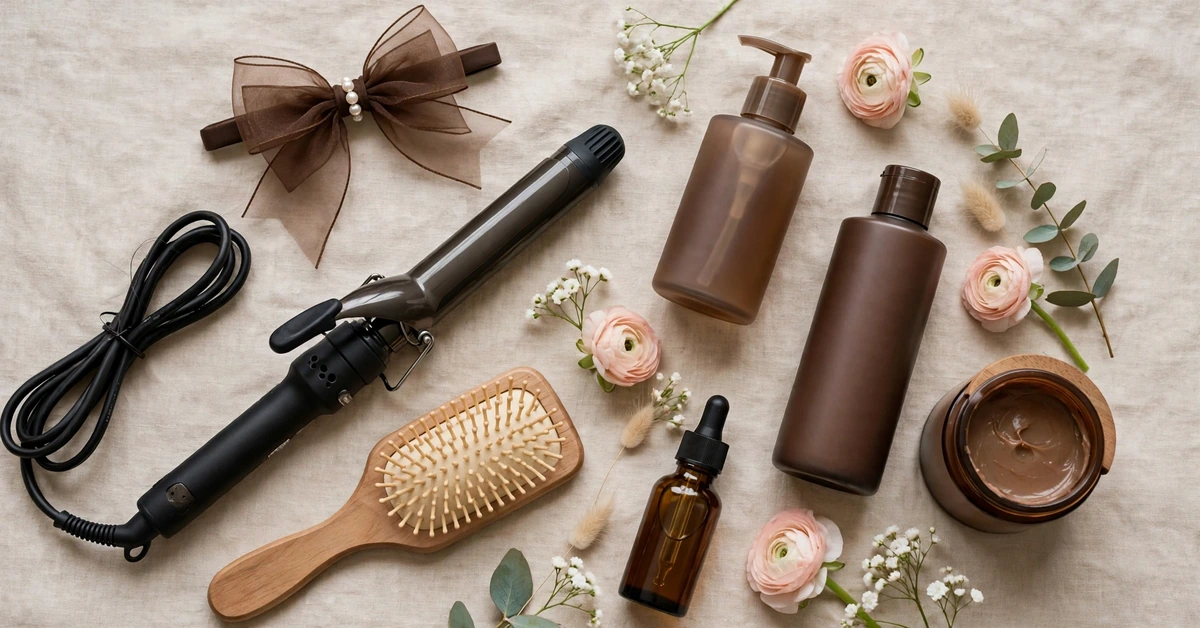
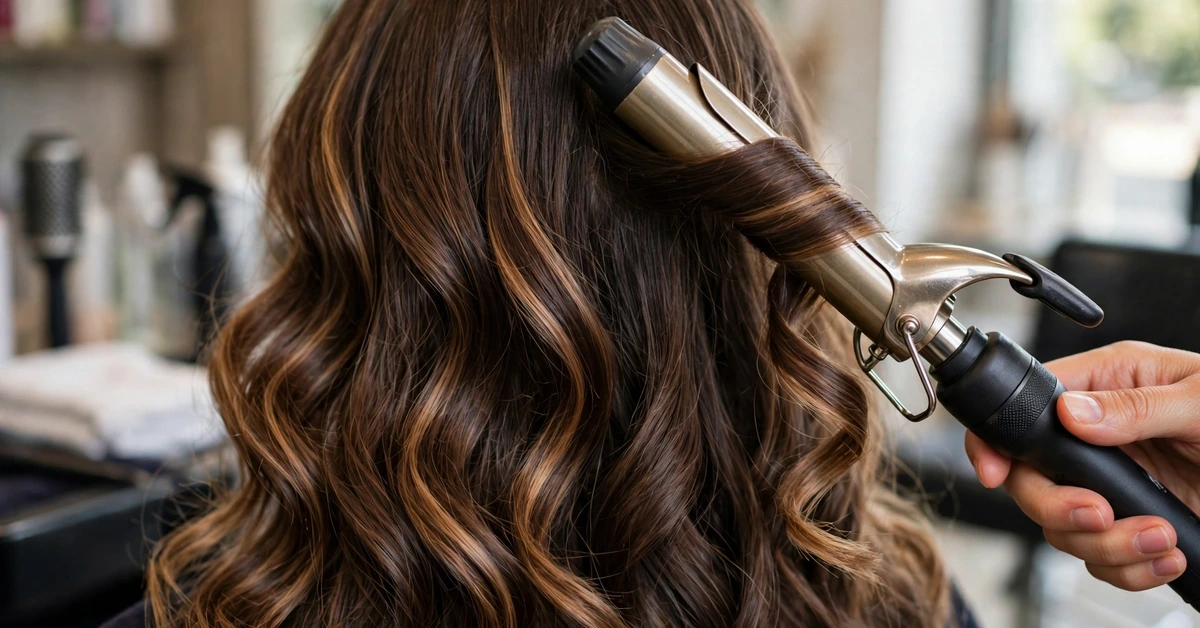
Recreating salon waves at home is easier than it looks once you have the right routine. Start with clean, towel-dried hair and apply a heat protectant from mid-lengths to ends, followed by a light mousse or wave cream if your hair tends to fall flat. Rough-dry the hair until it is about eighty percent dry, then part it as you normally would. Working in sections keeps the waves even and stops the top layers from going frizzy while the underneath is still damp.
Use a large-barrel curling iron, around 32mm, and wrap each section away from your face, leaving the last few centimetres of the ends straight for a modern, relaxed finish. Hold each section for only a few seconds if your hair is fine, or a little longer for thick hair, then release and let the curl cool completely before touching it. Once all sections are curled, run your fingers or a wide-tooth comb through the hair to break the curls into soft waves, and finish with a light-hold hairspray or a drop of hair oil smoothed over the ends.
On non-wash days, you can revive the waves without starting over. Lightly mist the hair with water or a wave-refresh spray, re-curl just the face-framing pieces and any sections that have gone flat, and brush through gently. A silk pillowcase or a loose braid overnight also helps the waves survive to the next morning. Avoid over-brushing with a fine brush, which turns waves into frizz; fingers and wide combs are your best tools for keeping the soft, touchable texture this look is known for.
The Half-Up Bow Style
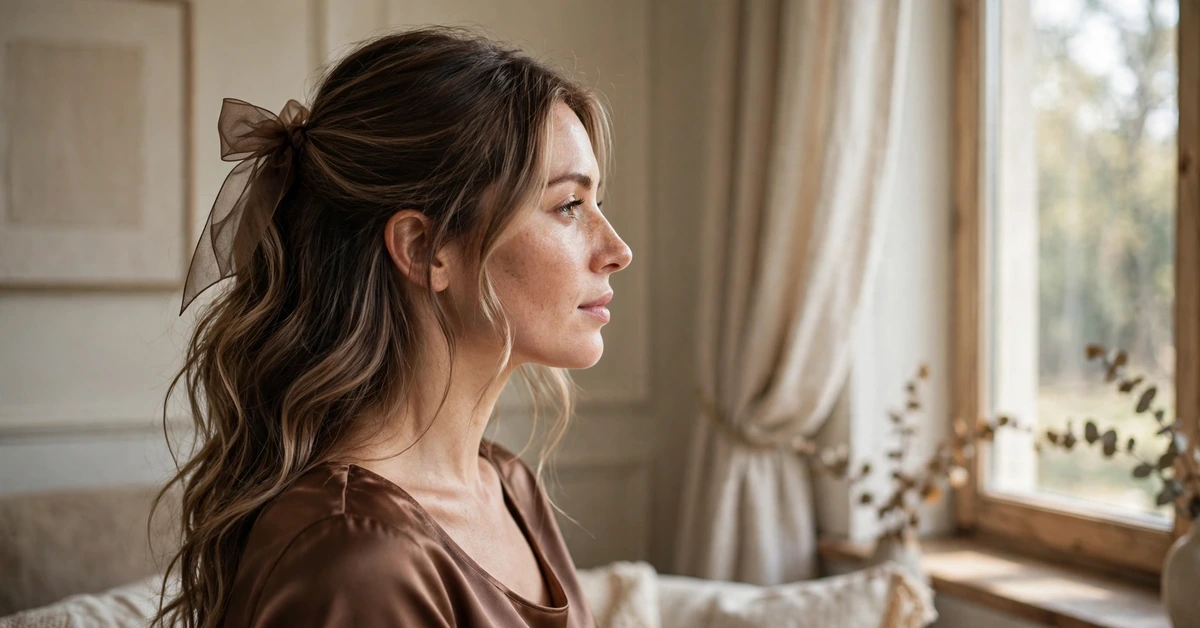
The half-up bow is what makes this look feel special rather than everyday, and it is surprisingly simple to recreate. Start with your waves already styled, then take a section of hair from each temple, roughly from above the ears, and bring both sections to the back of the head. Secure them together with a small clear elastic at the height that suits your face: higher for a lifted, playful feel, or lower, near the crown, for a softer, romantic effect.
Next, cover the elastic with the bow itself. A large sheer organza bow in brown, with a pearl or crystal centre, is the classic choice for this look, and it grips best if you attach it with a small clip or pin it through the elastic rather than relying on the bow’s own clip alone. Gently pull a few face-framing strands loose around your cheeks, and tease the crown very lightly underneath the top section if you want a little extra volume. Check the style from the side in a mirror, since the bow should sit neatly above the waves rather than disappearing into them.
This style works for weddings, parties, dinners, and any occasion where you want to look polished without a full updo. It keeps hair out of your face while still showing off the length and the balayage colour, which is exactly why it photographs so well. For a more casual version, swap the organza bow for a simple velvet scrunchie or a thin satin ribbon tied in a small knot. The structure of the style stays the same; only the accessory changes the mood.
Care and Maintenance
Balayage is famously low-maintenance compared with root-to-tip colour, but a few habits keep mocha tones rich for much longer. Wash with a sulfate-free shampoo designed for coloured hair, and keep the water lukewarm rather than hot, since heat opens the hair cuticle and lets colour escape faster. Wash two to three times a week rather than daily where possible, and use dry shampoo between washes to keep the roots fresh without stripping the lengths.
Toning is the secret to preventing brassiness. Every few weeks, use a purple or blue-toned mask or shampoo, depending on whether your hair is pulling yellow or orange, but use it sparingly: once a week at most, and only for a few minutes, or the mocha can turn ashy and dull. A weekly deep-conditioning mask keeps the lightened sections soft and shiny, which matters because healthy, glossy hair reflects light and makes the balayage dimension far more visible.
Heat and sun protection complete the routine. Always use a heat protectant before curling or straightening, keep irons at a moderate temperature, and wear a hat or a UV-protectant spray in strong sun, especially on holiday. Chlorine and salt water can also shift the tone, so wet your hair with clean water before swimming and rinse it immediately afterwards. These small habits cost almost nothing, yet they can easily add weeks to the life of your colour.
Growing Out and Refreshing the Colour
One of the greatest advantages of balayage is how gracefully it grows out. Because the colour starts softly rather than at the root, there is no harsh regrowth line, and most people can go three to four months between full balayage appointments. During that time, the colour simply softens and the caramel pieces blend further into the mocha, which often looks even more natural than it did on day one.
Between full appointments, book a toner and trim every six to eight weeks. The toner refreshes the mocha shade, corrects any brassiness, and restores shine, while the trim removes dry ends that make colour look dull. This small, relatively inexpensive appointment keeps the balayage looking intentional for months and means your colourist has less corrective work to do when you eventually return for a full refresh.
When you do return for a full balayage, your colourist will usually focus on the pieces that have faded most, often the face frame and the ends, rather than re-lightening the whole head. This protects the hair from unnecessary processing and keeps the colour building gradually over time. If you ever want to go darker again, mocha is forgiving: a gloss or semi-permanent colour can deepen the whole head evenly, and the old balayage will still show through as subtle dimension underneath. That flexibility is part of why mocha balayage remains such a beloved, long-term choice.